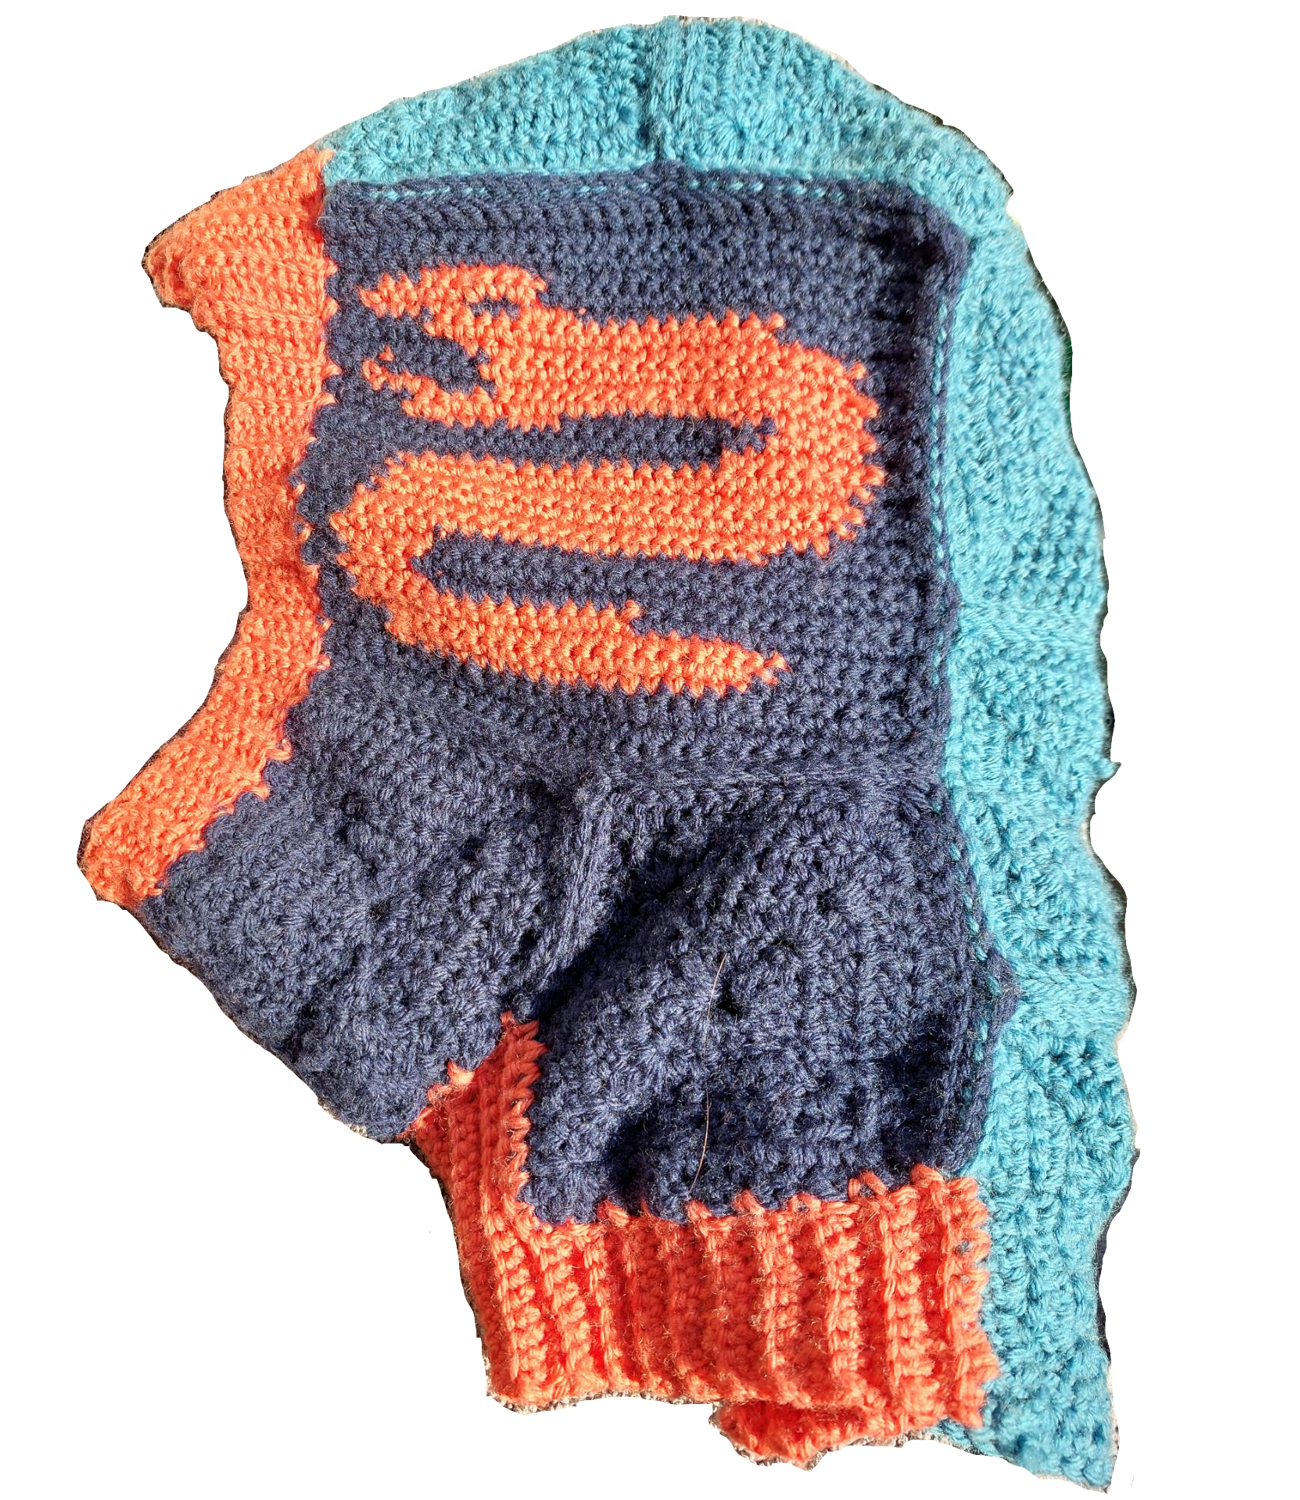
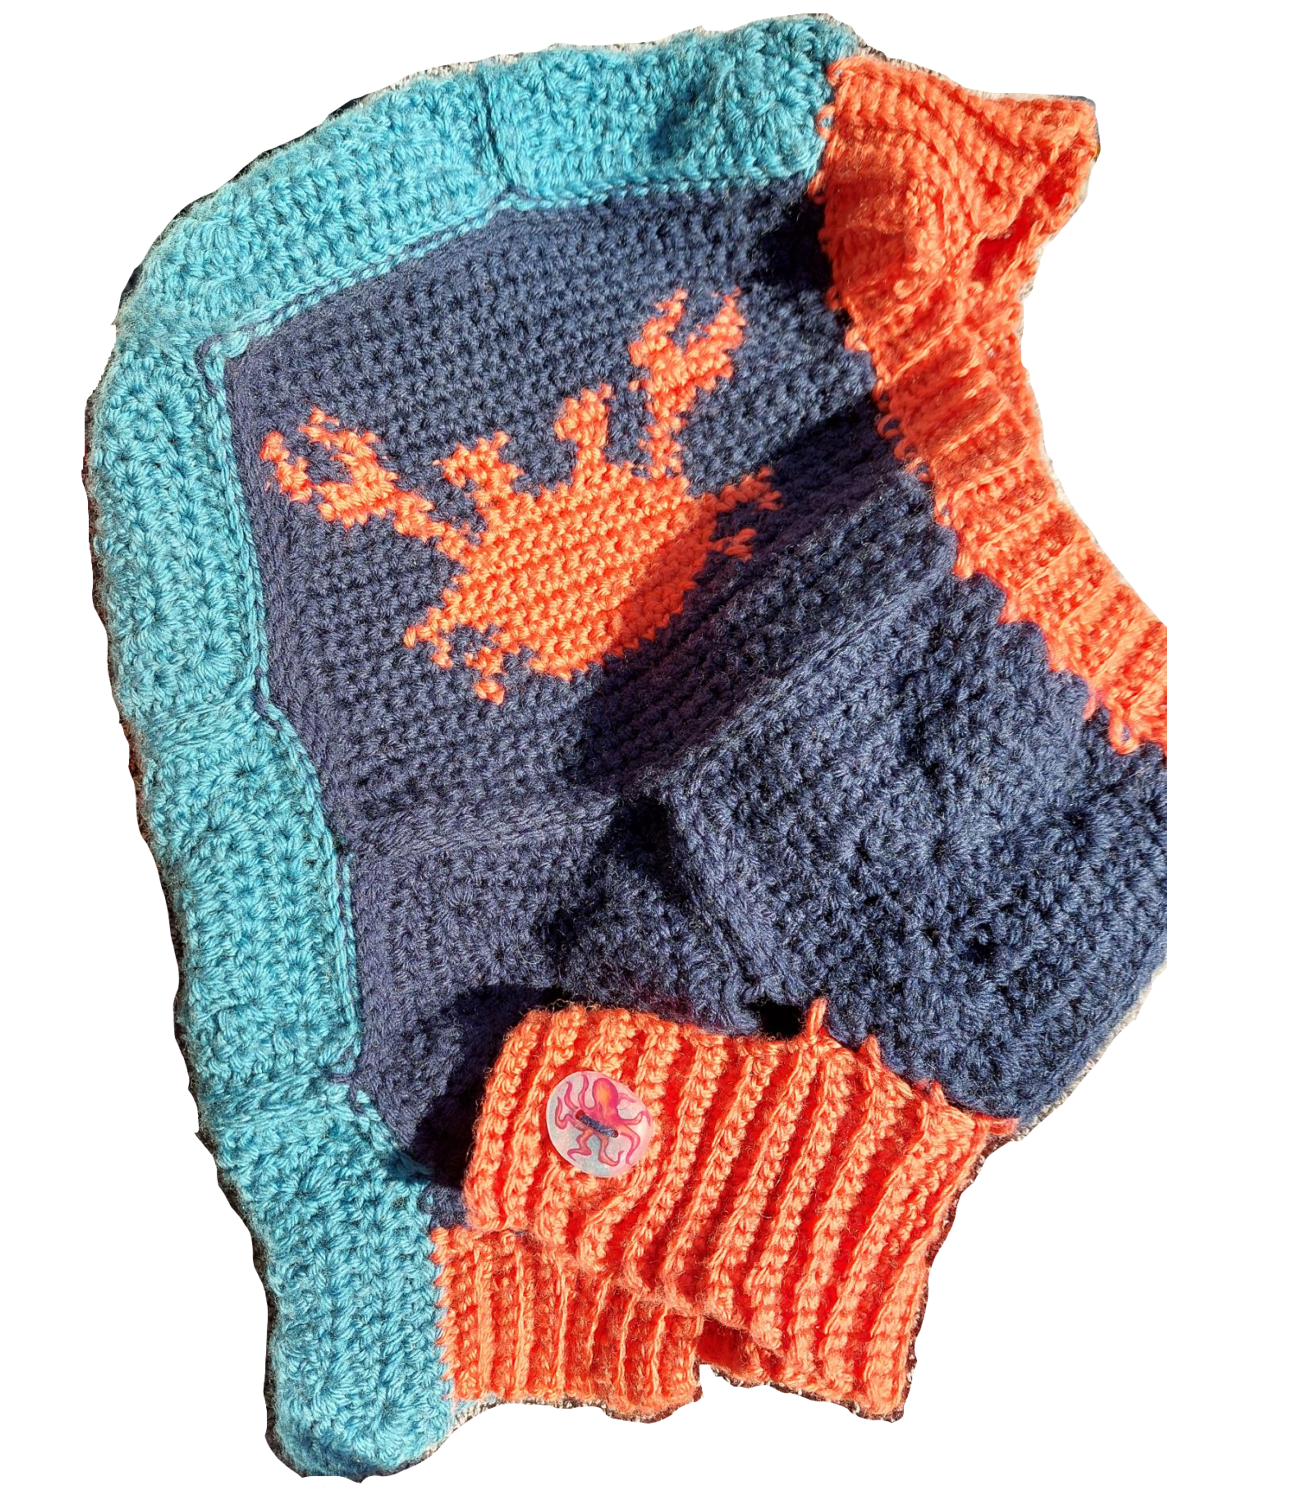
Crab - Snake Balaclava - Pattern
The hood of frost resistance is here! I made this so I can wear my beloved sweater without my neck getting cold. I looked at several patters/finished objects then just made it. I will share the tutorials I used and the charts I made for the crabby and snek.

Fyi my head is on he smaller side so it may not fit everyone. Measure, swatch and try on as you go!
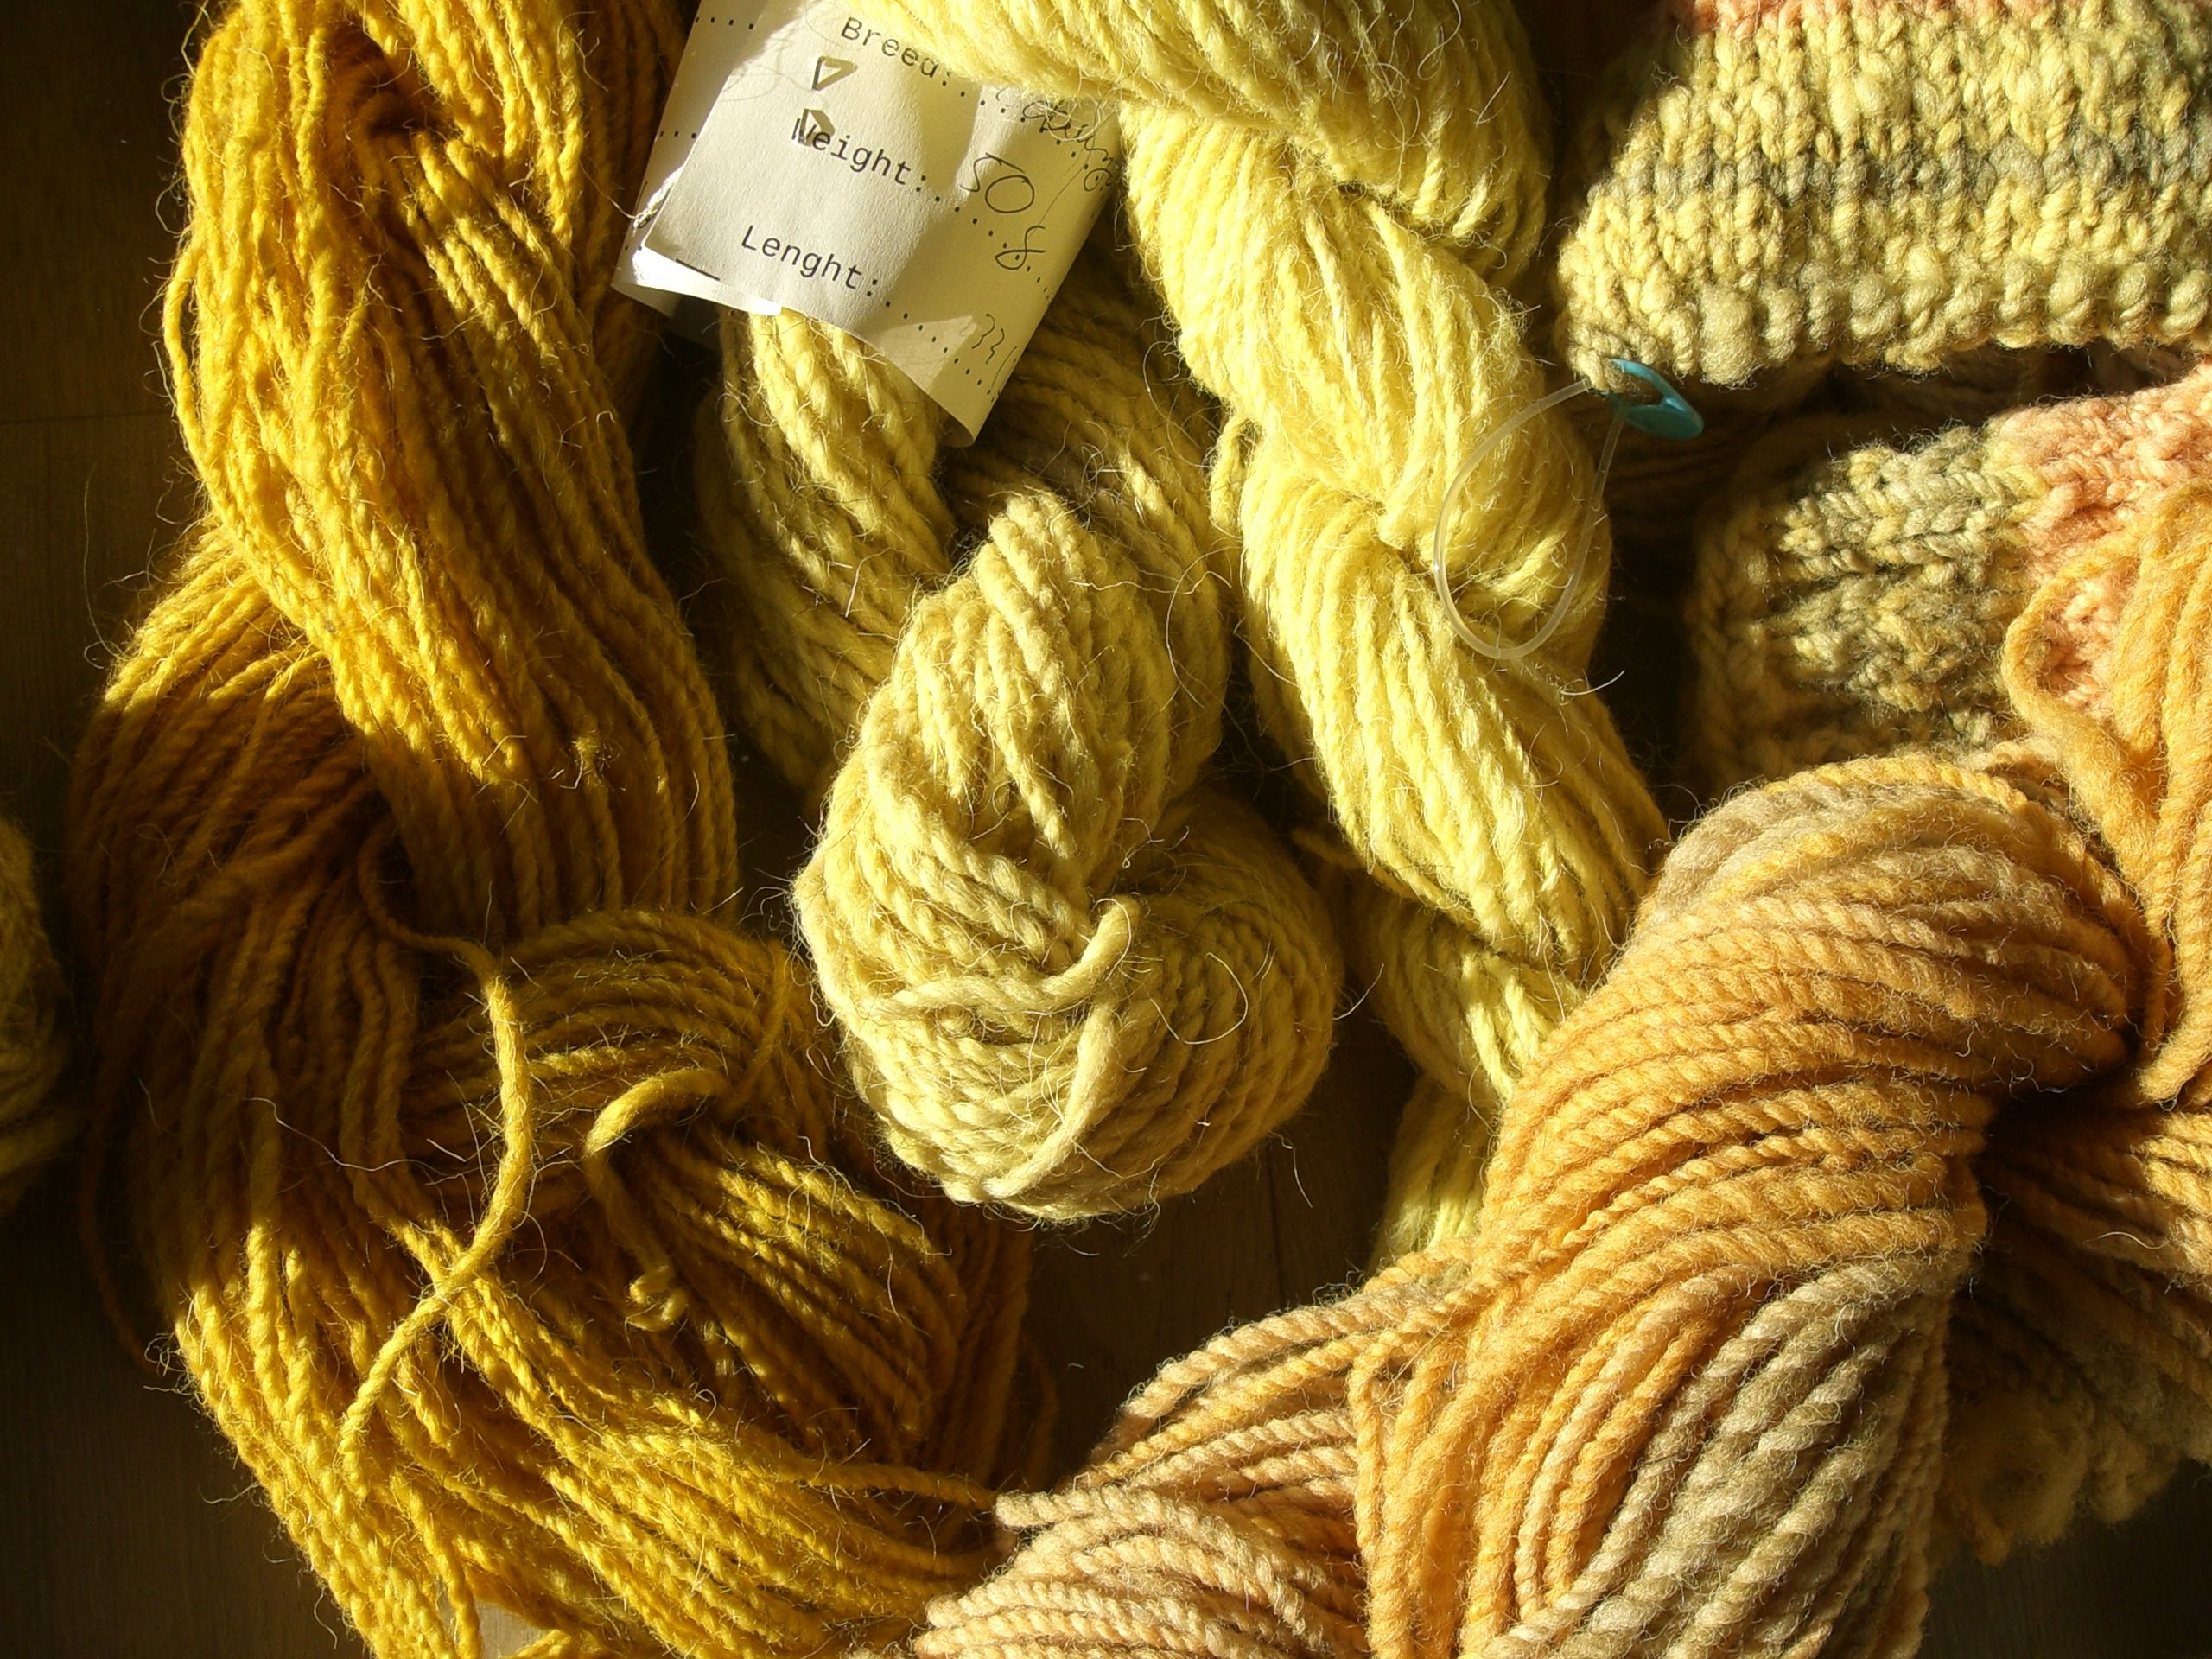
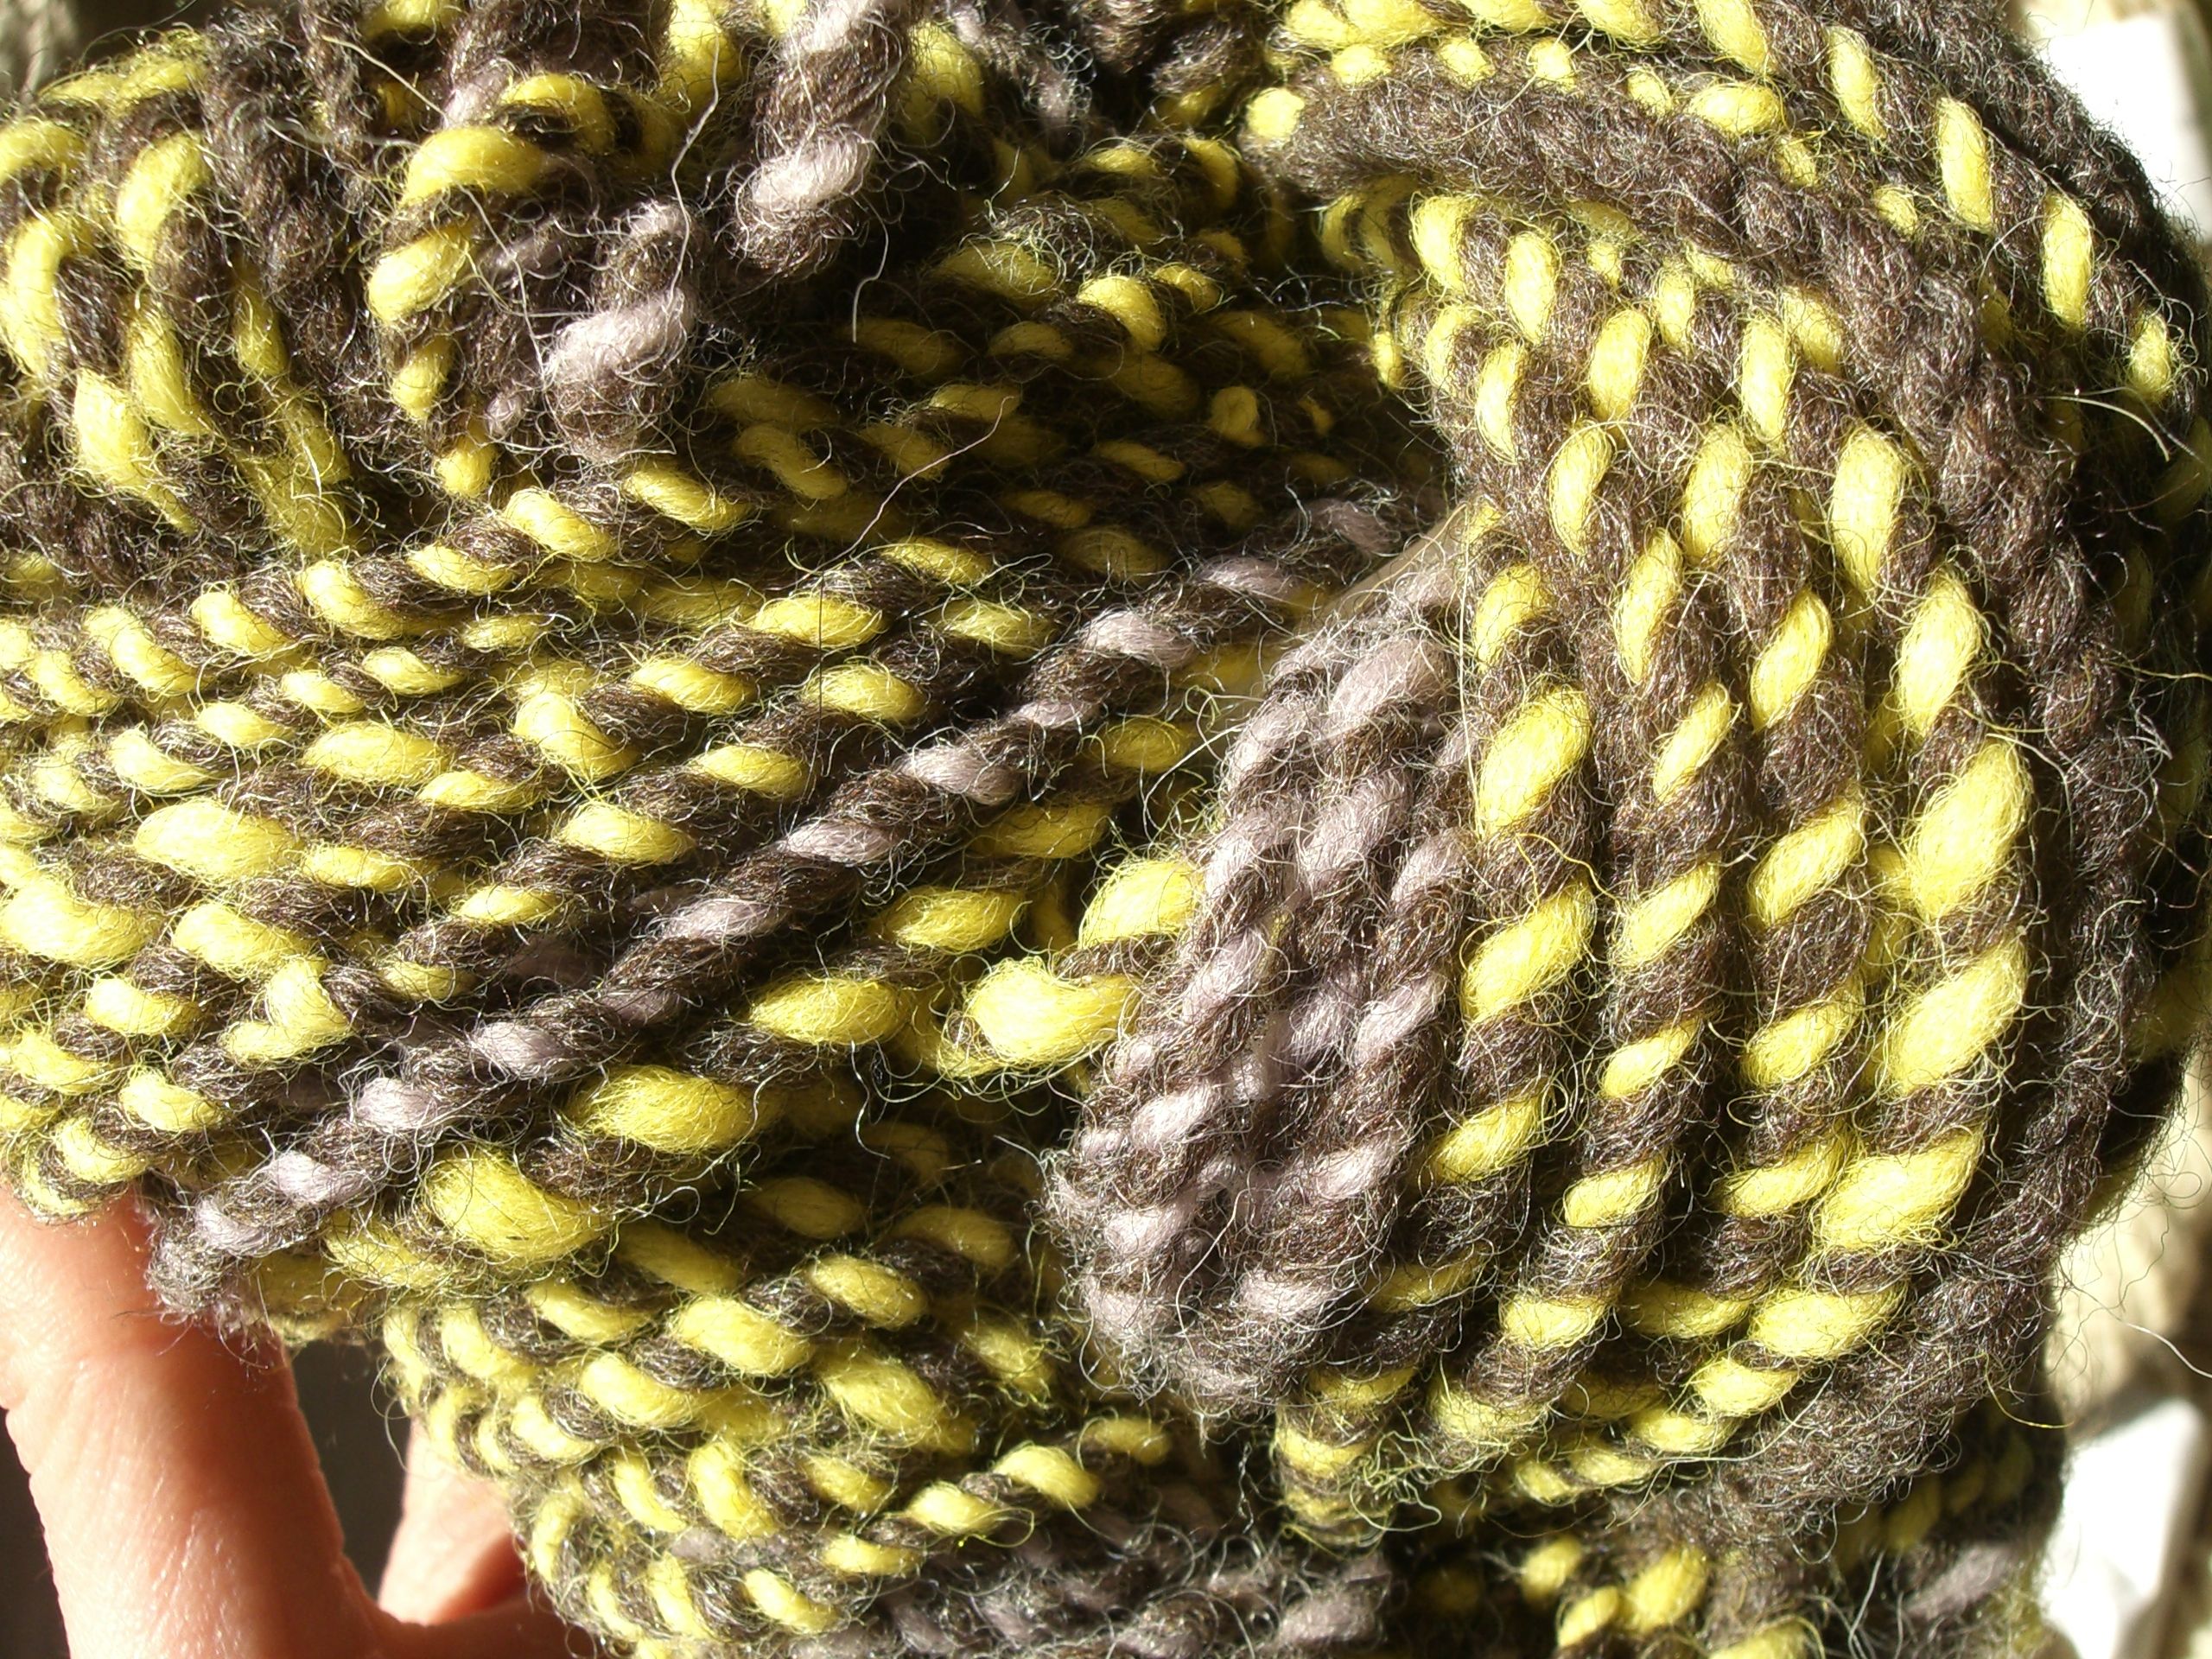
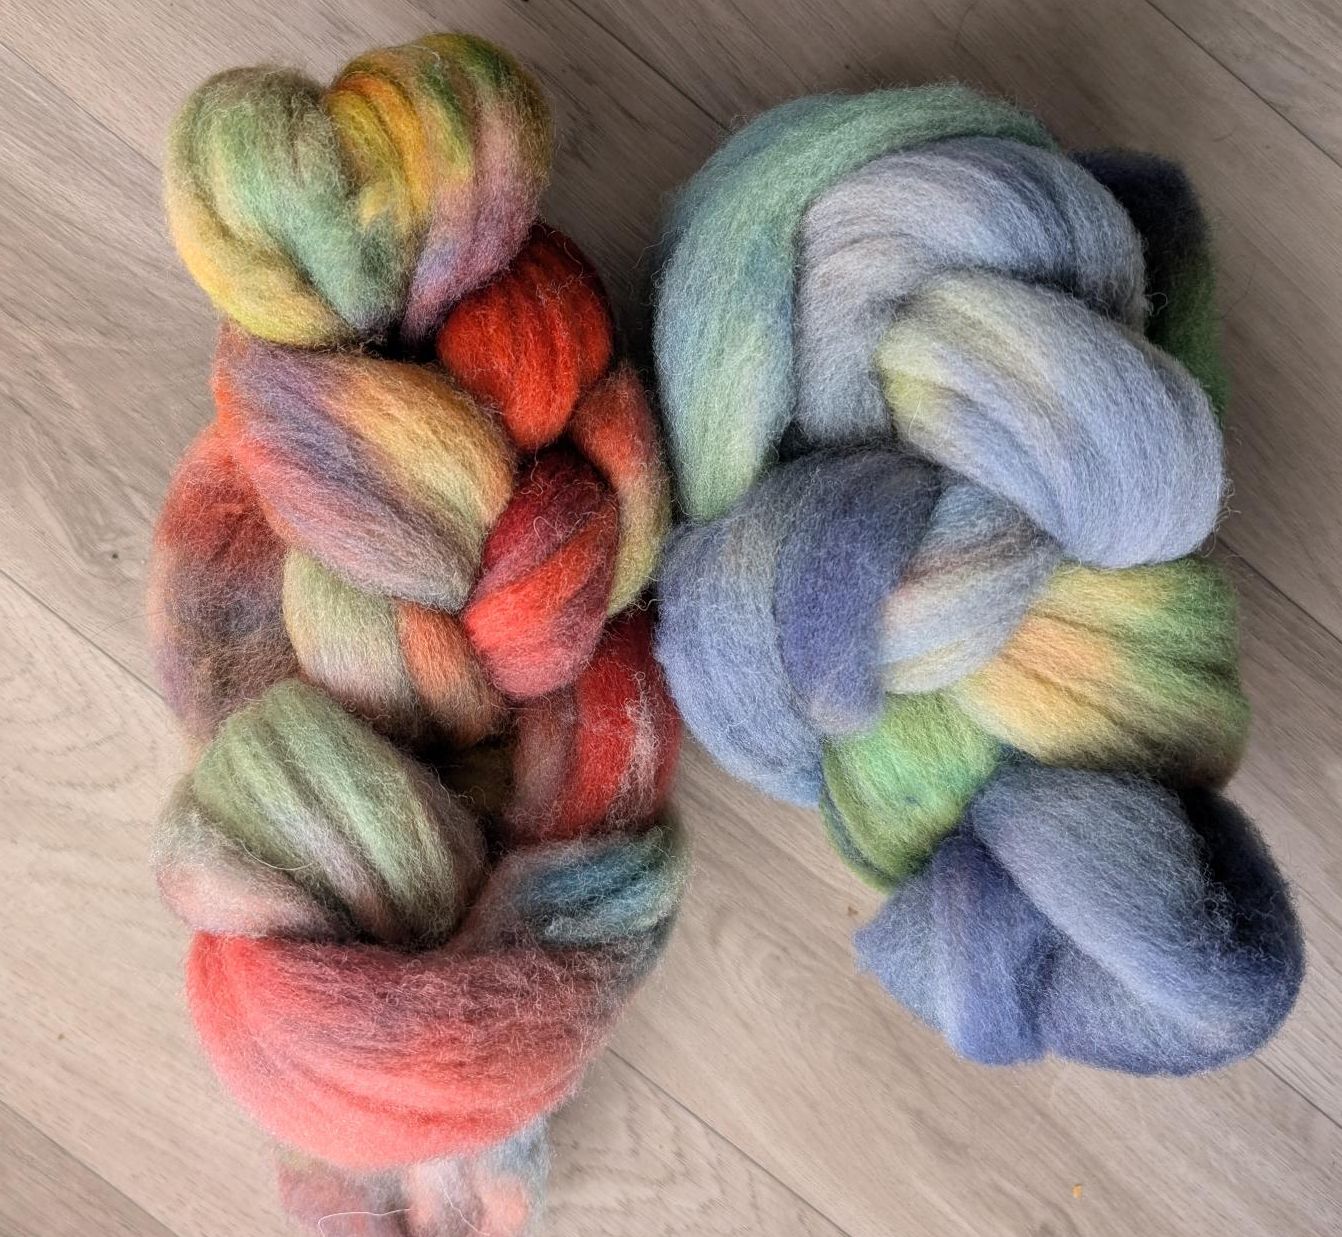
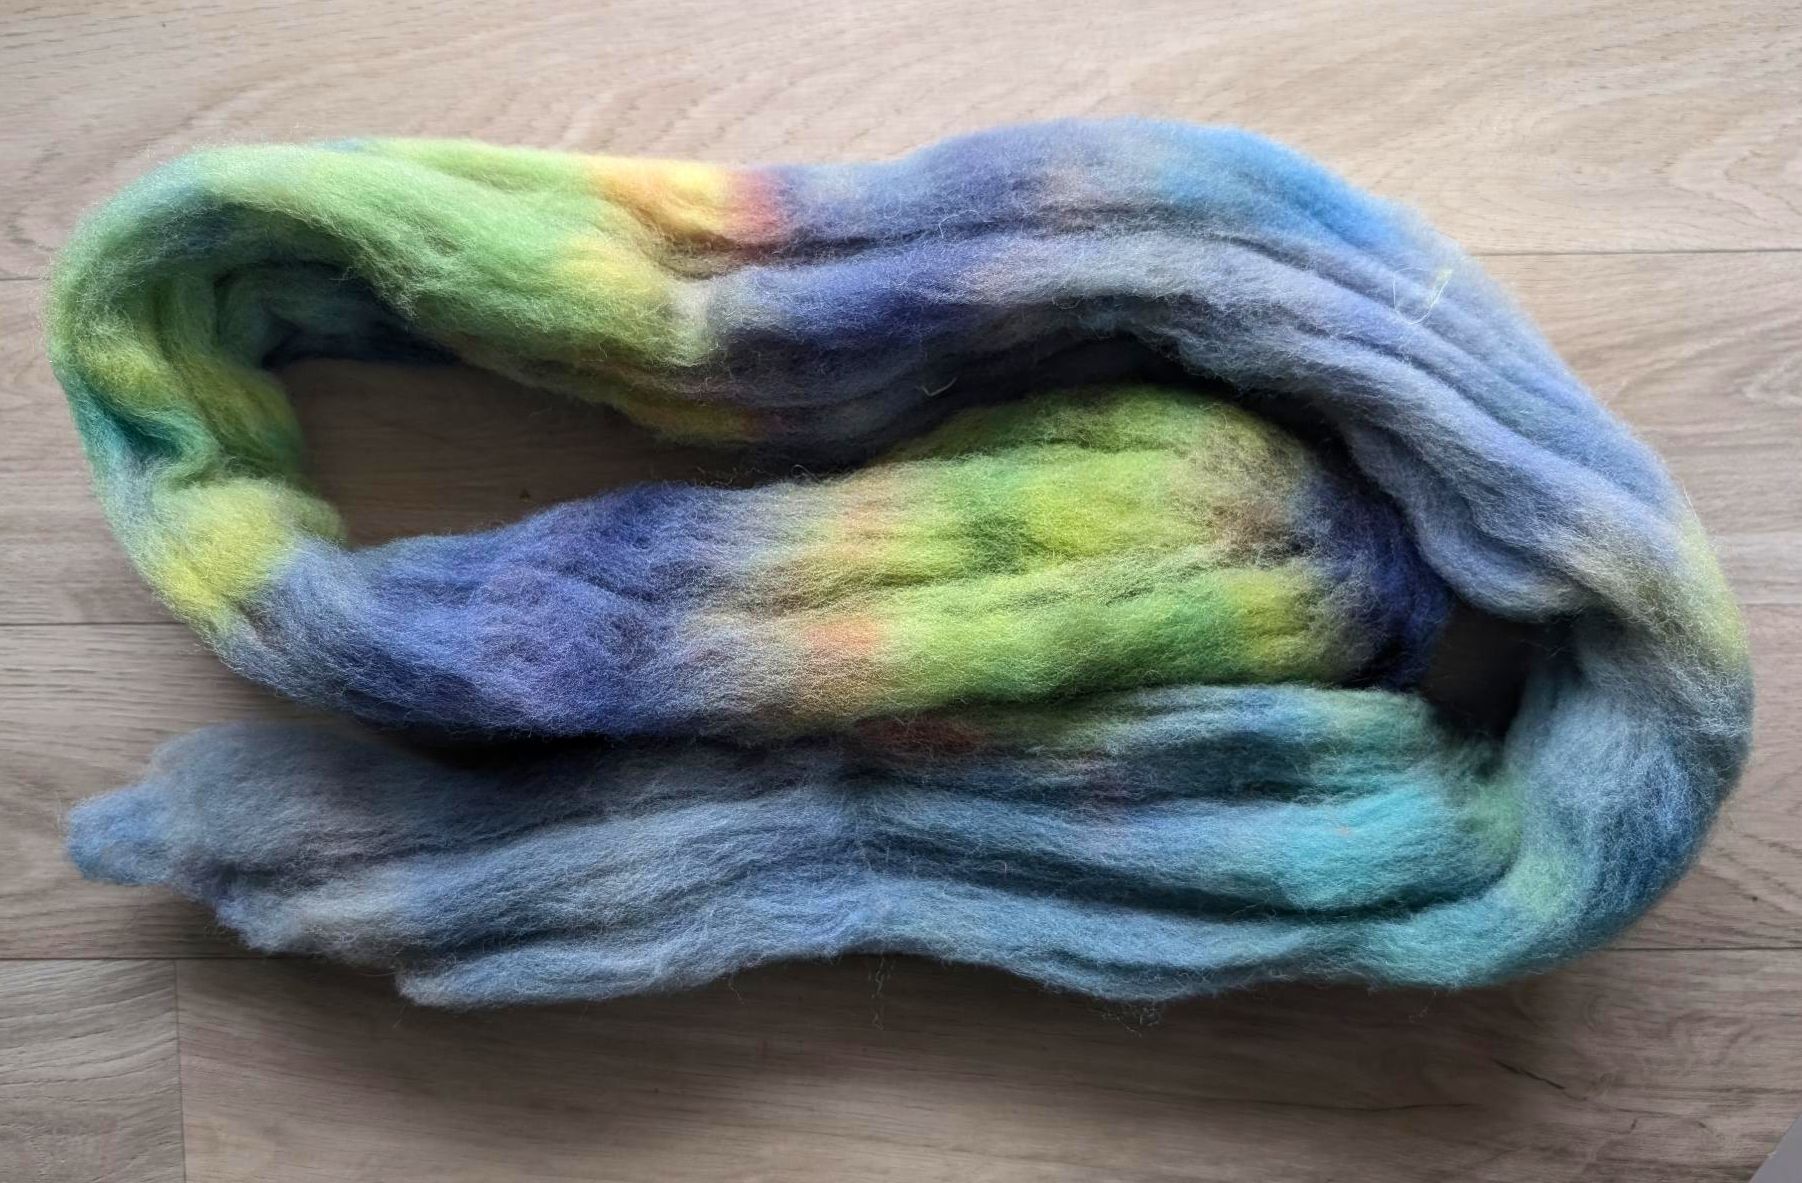
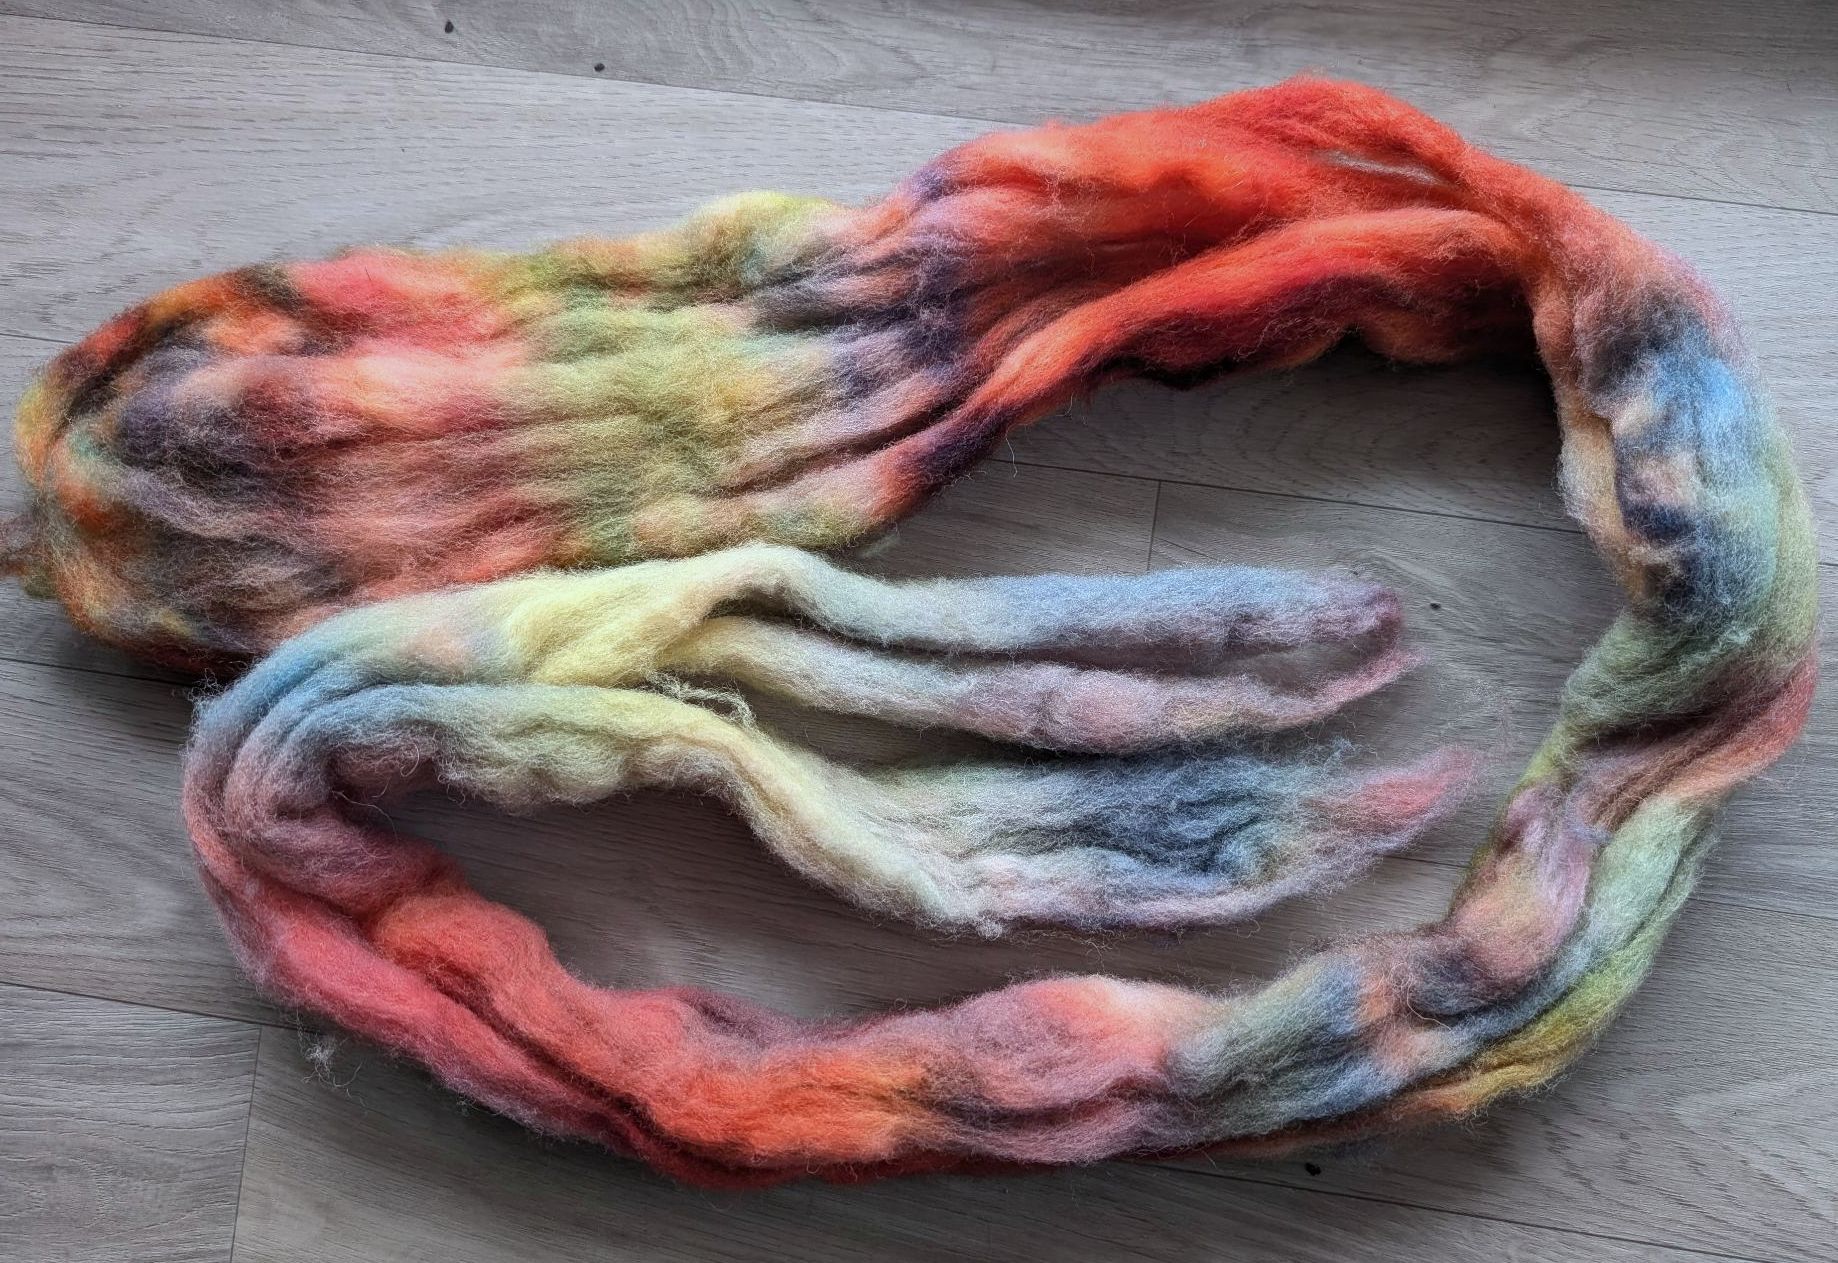
- Yarn: Merino Uno by Lana Grossa (125m/50g)
- Needed: about 130-150g, if one color (one 50g ball each was enough)
- Hook: 4mm
Tutorials I used:
- Granny square
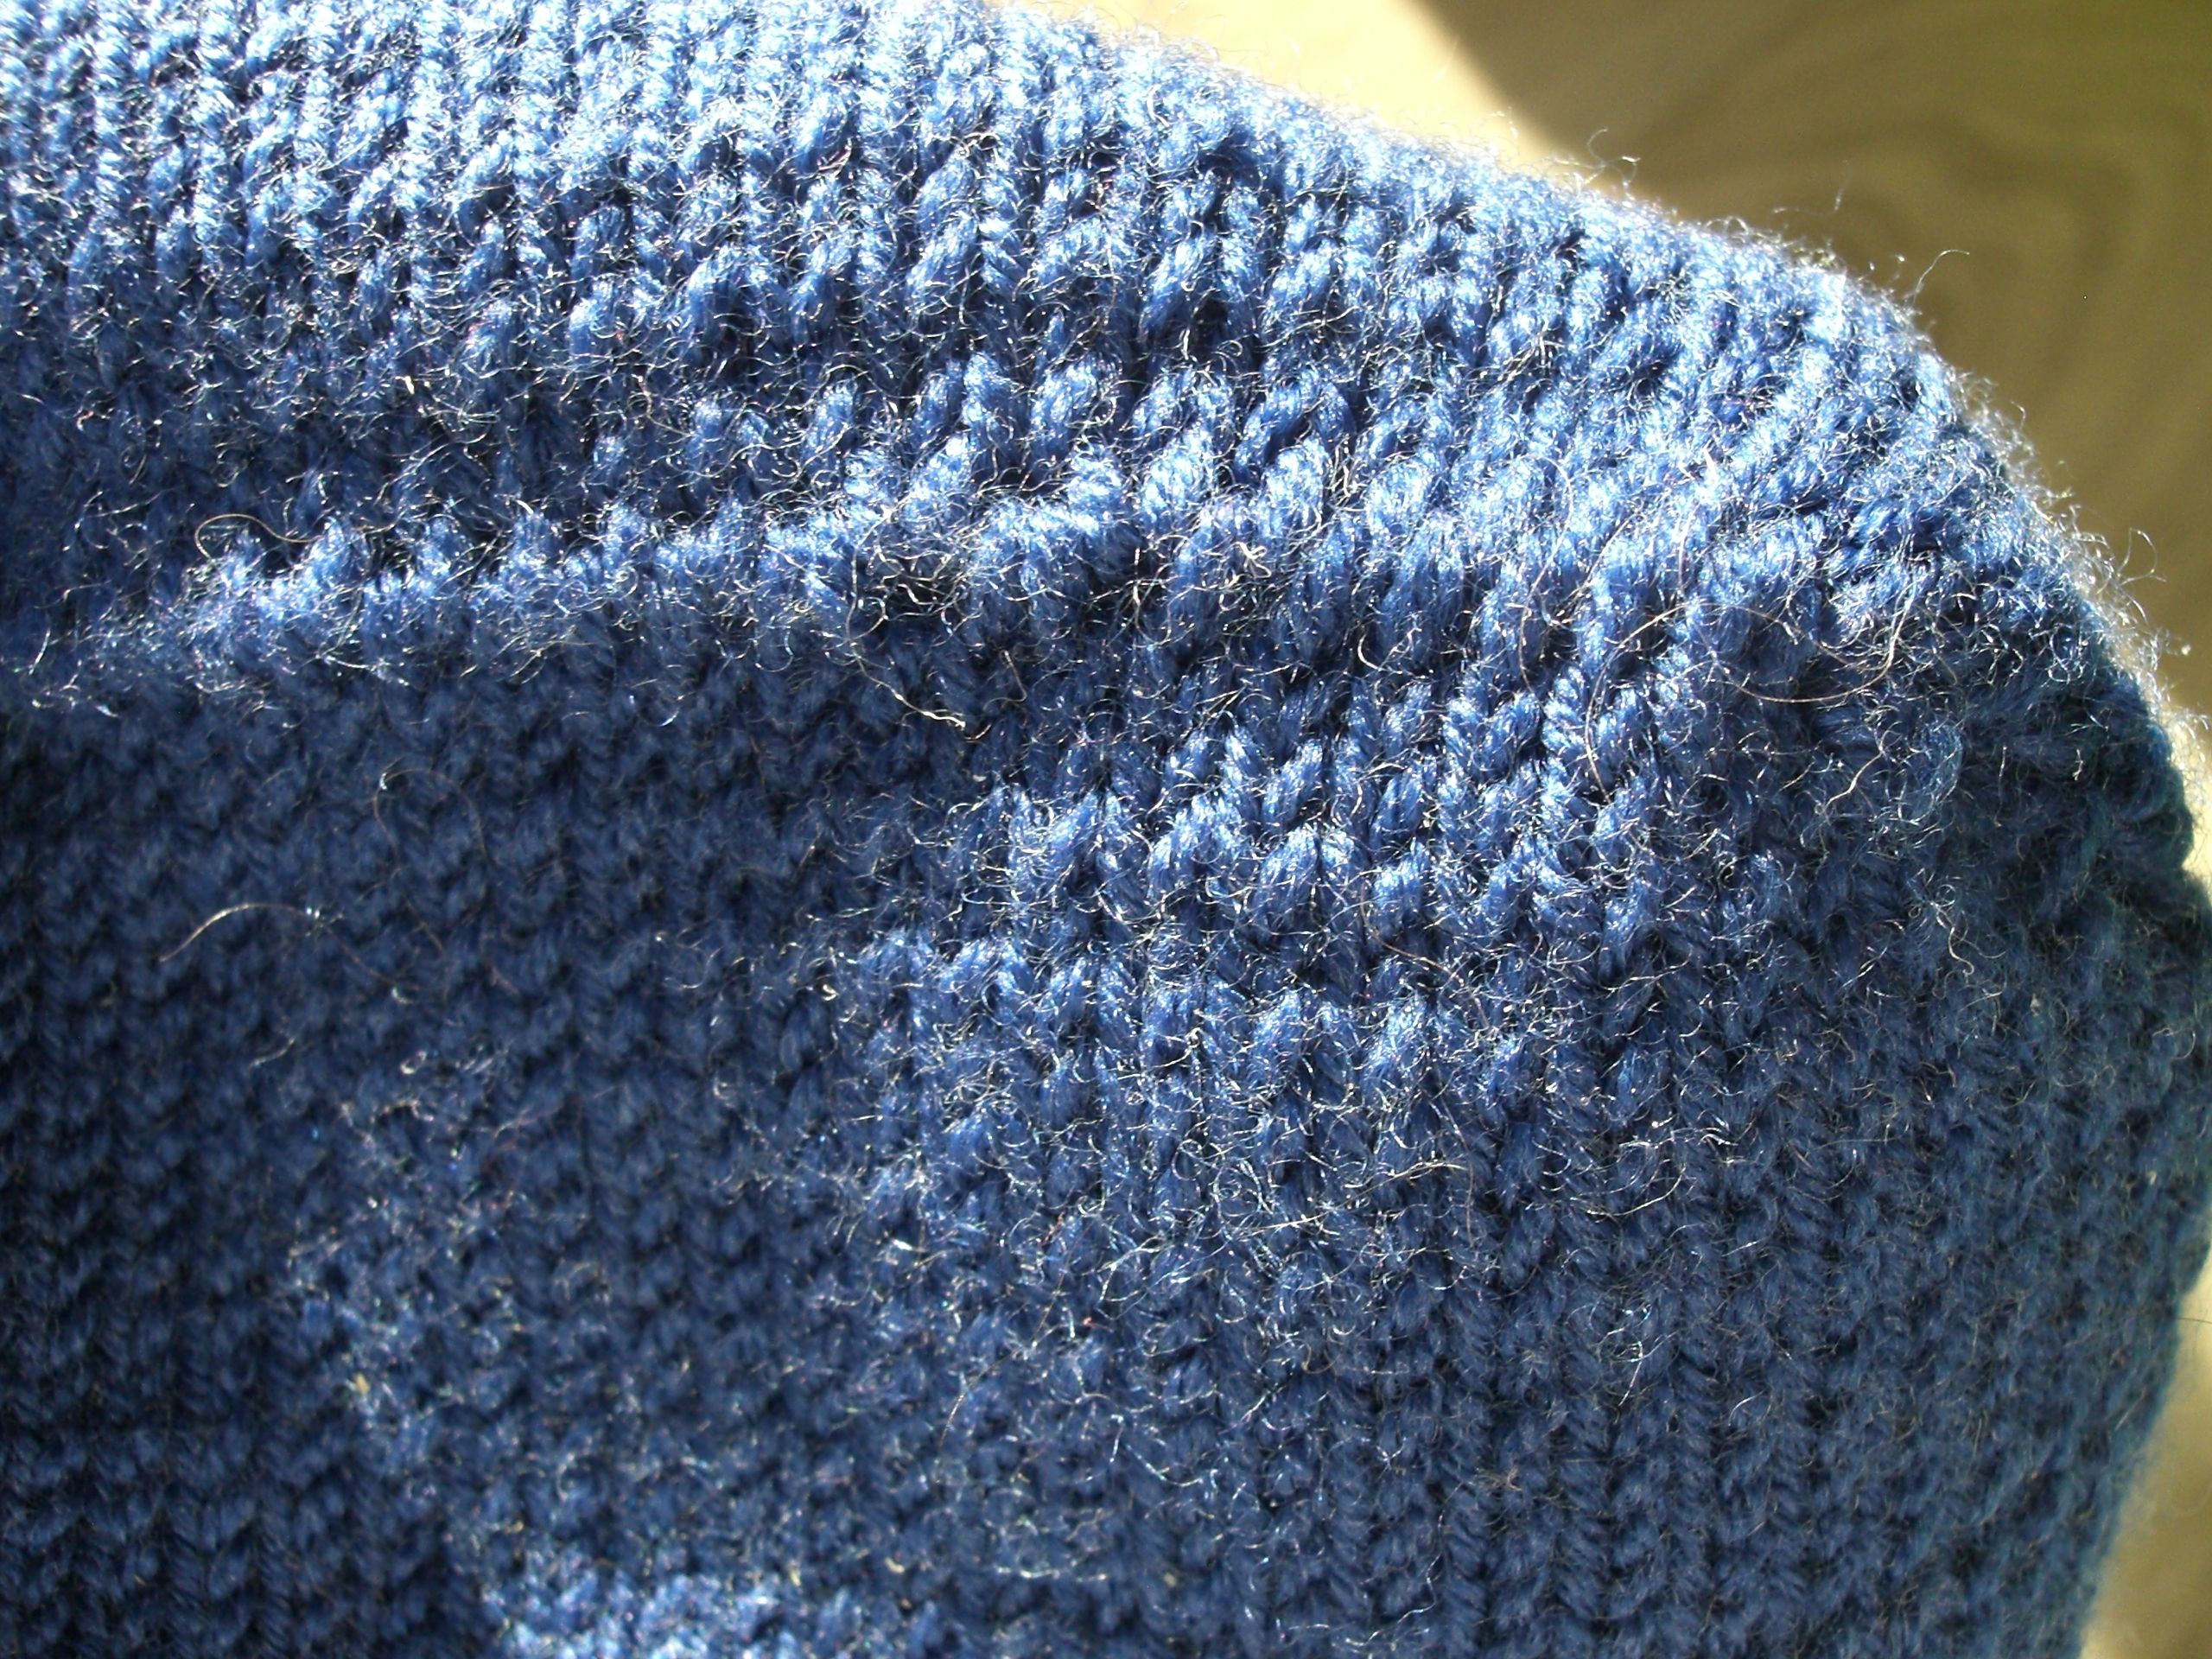
- Ribbing
- Colorwork
- Joining: I used the single crochet join
Chin info: you may want to make the chin smaller depending on the fit. I find it a bit too loose. If you do that then you need 2 less dark blue squares!
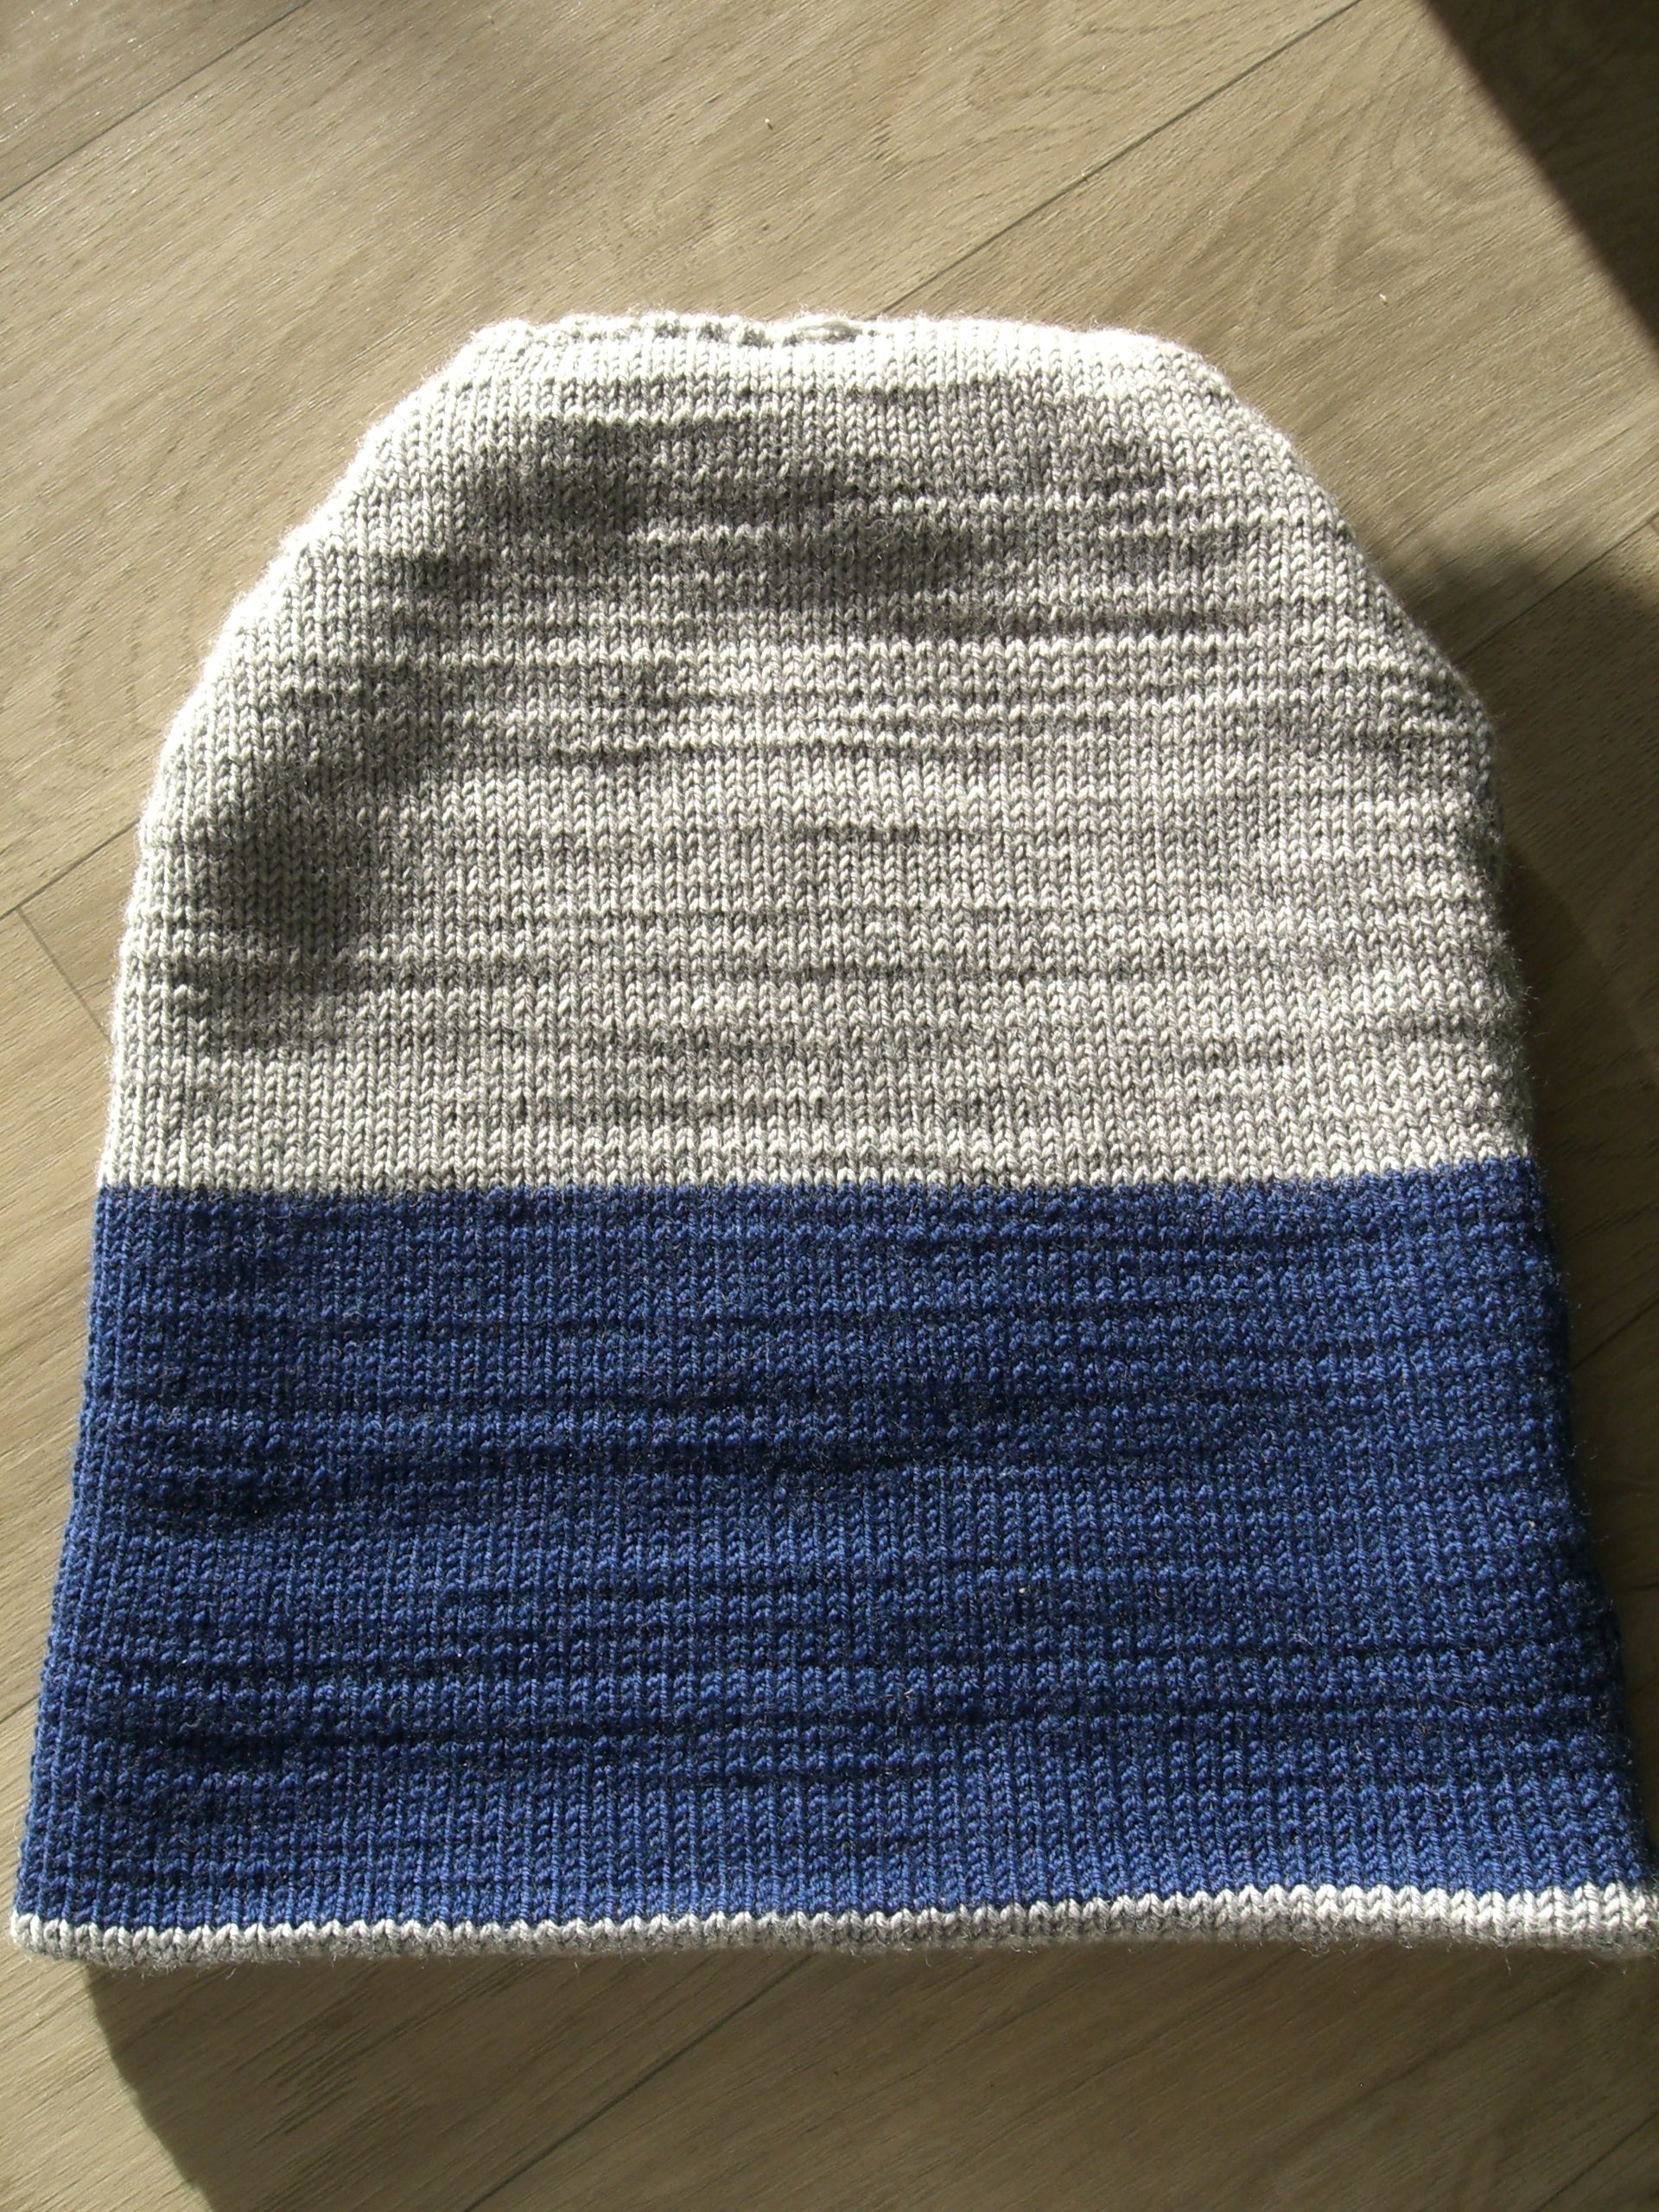
Parts:
- 5 light blue squares
- 4 dark blue squares (2 if you mod the chin!)
- the two side panels
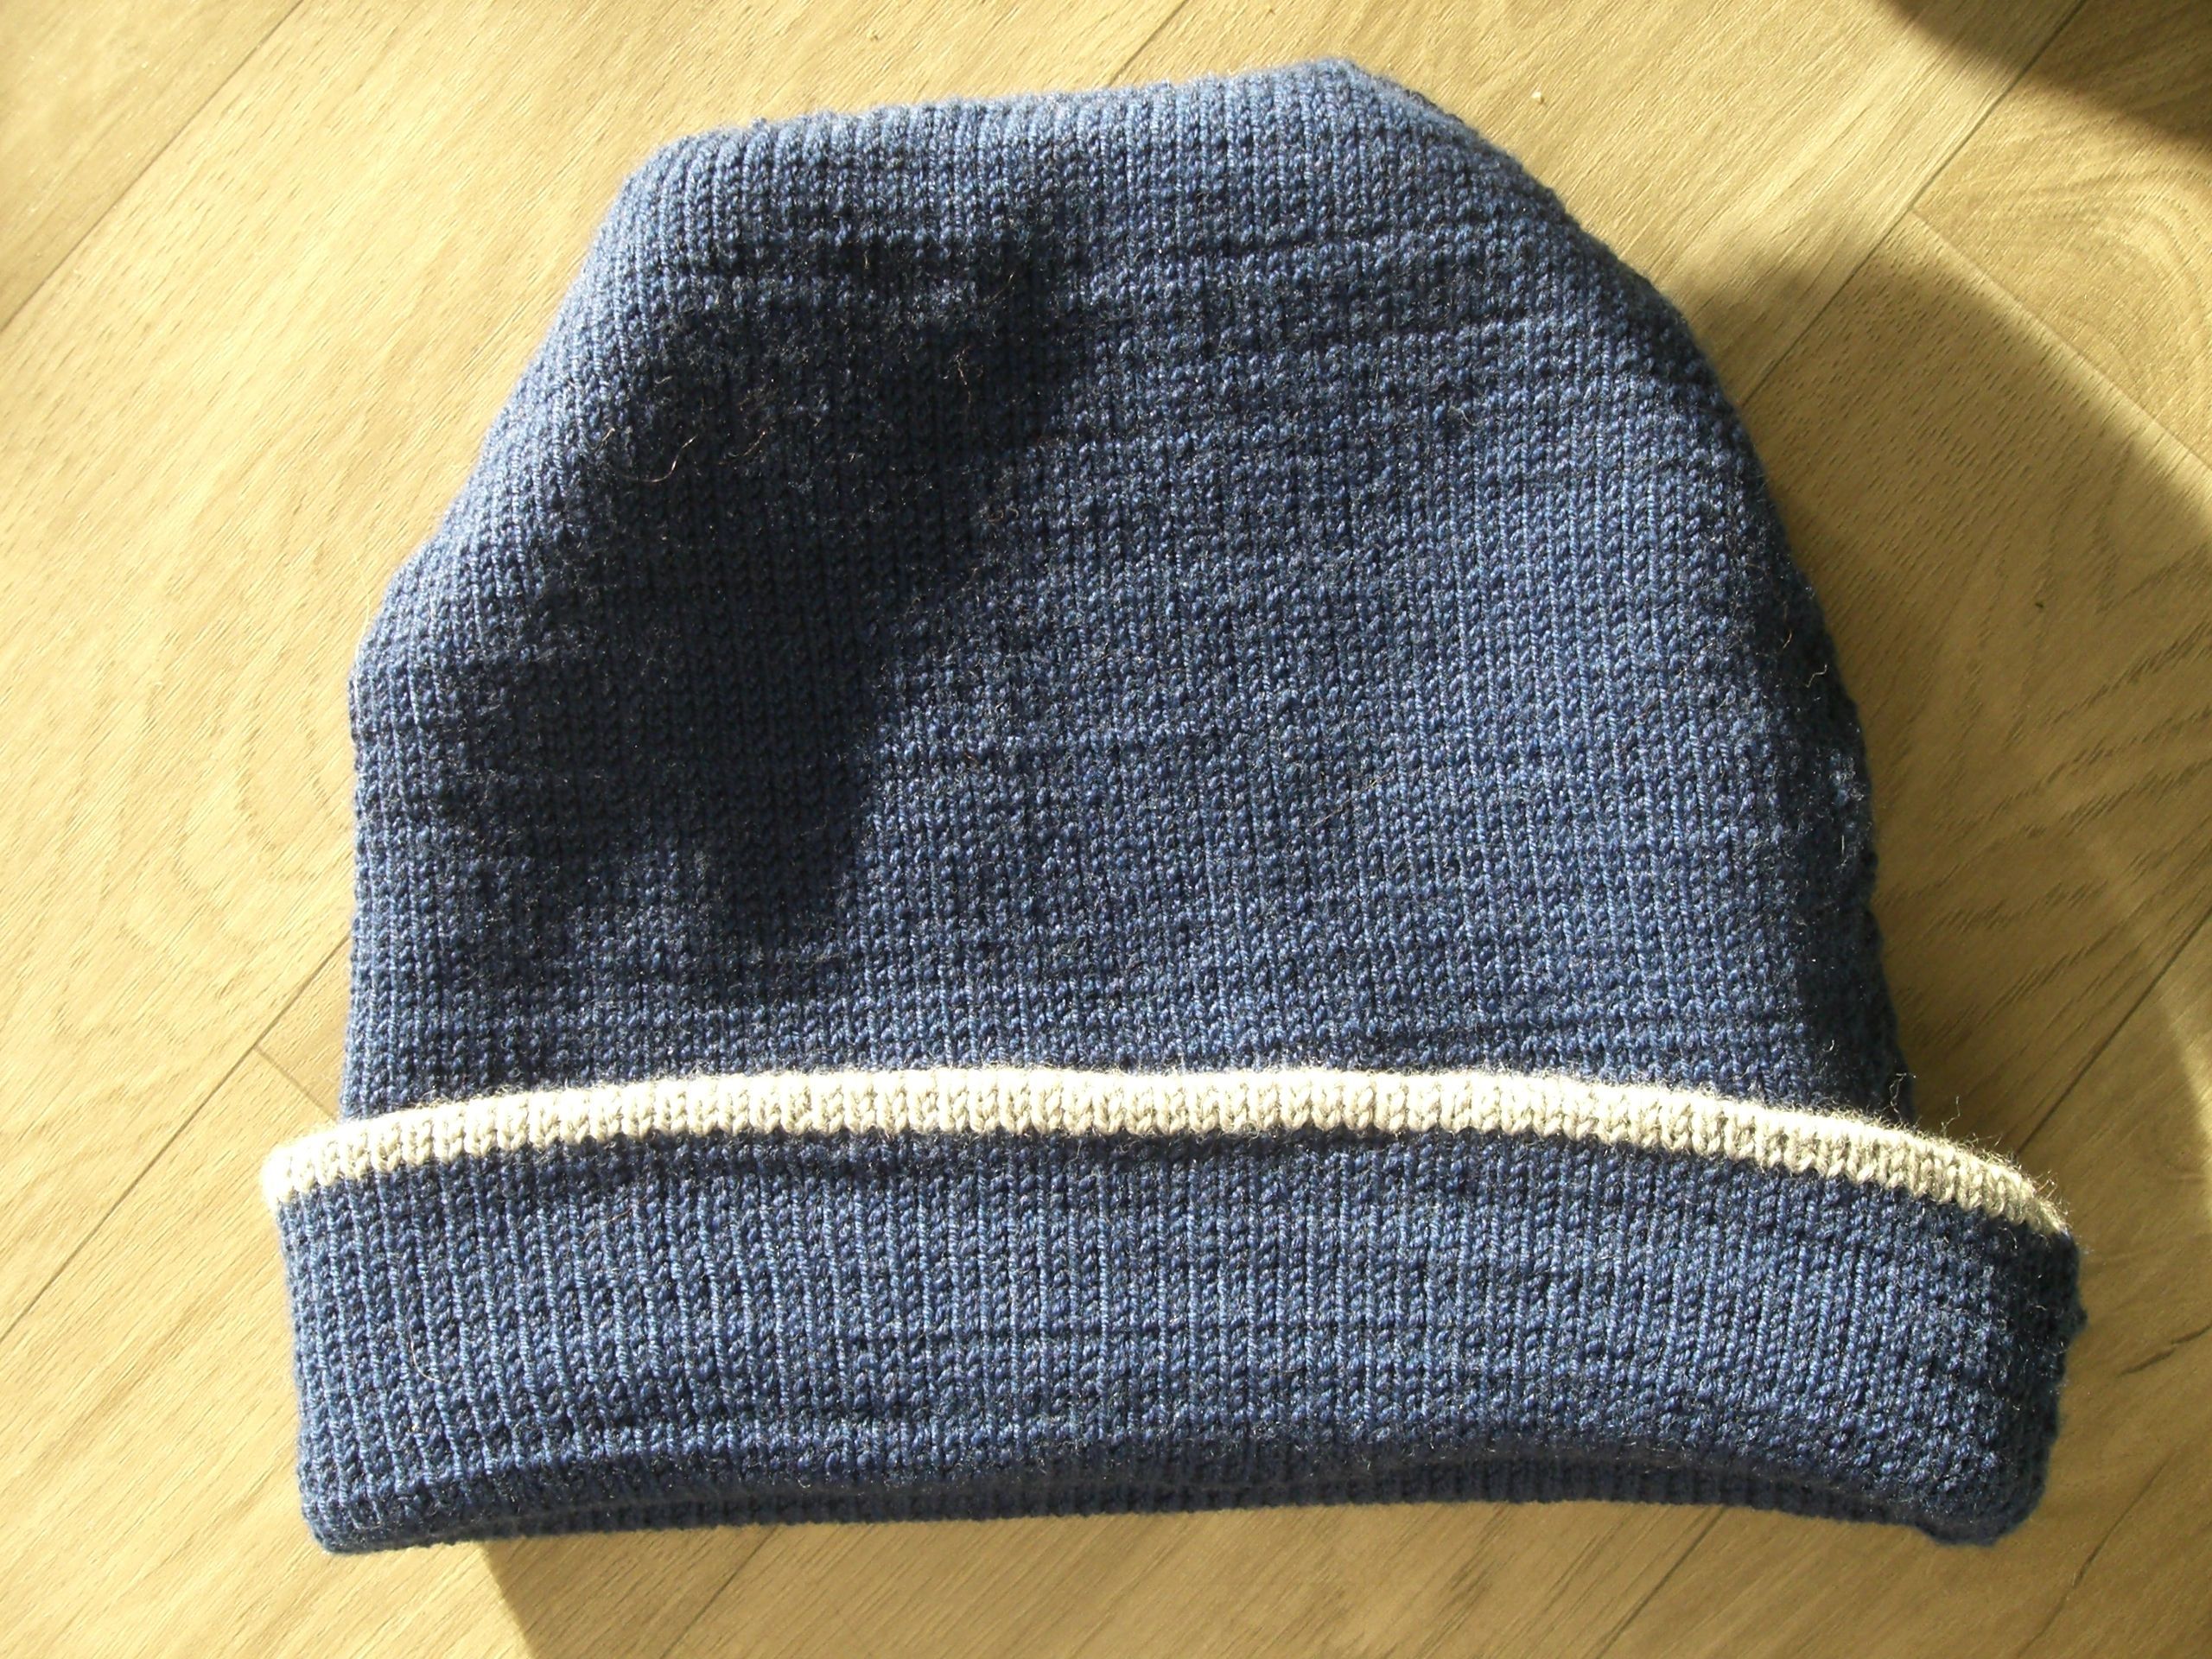
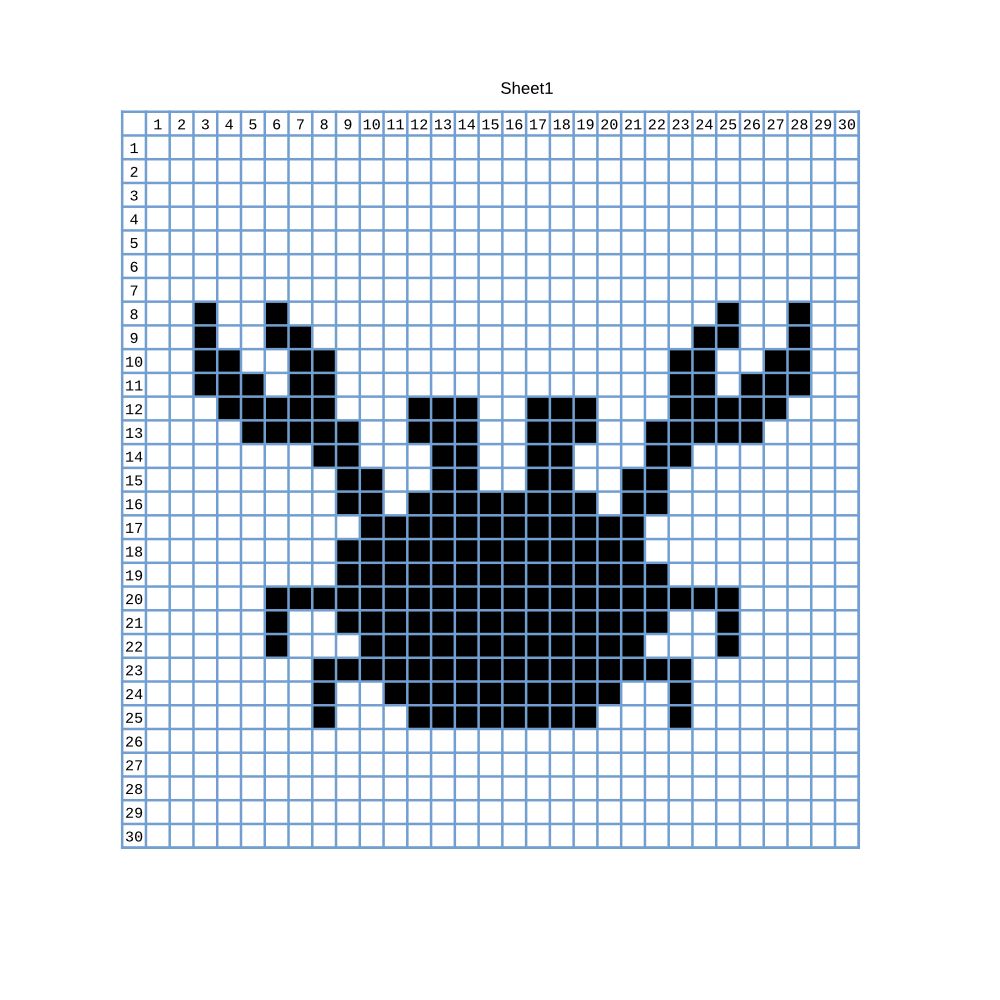
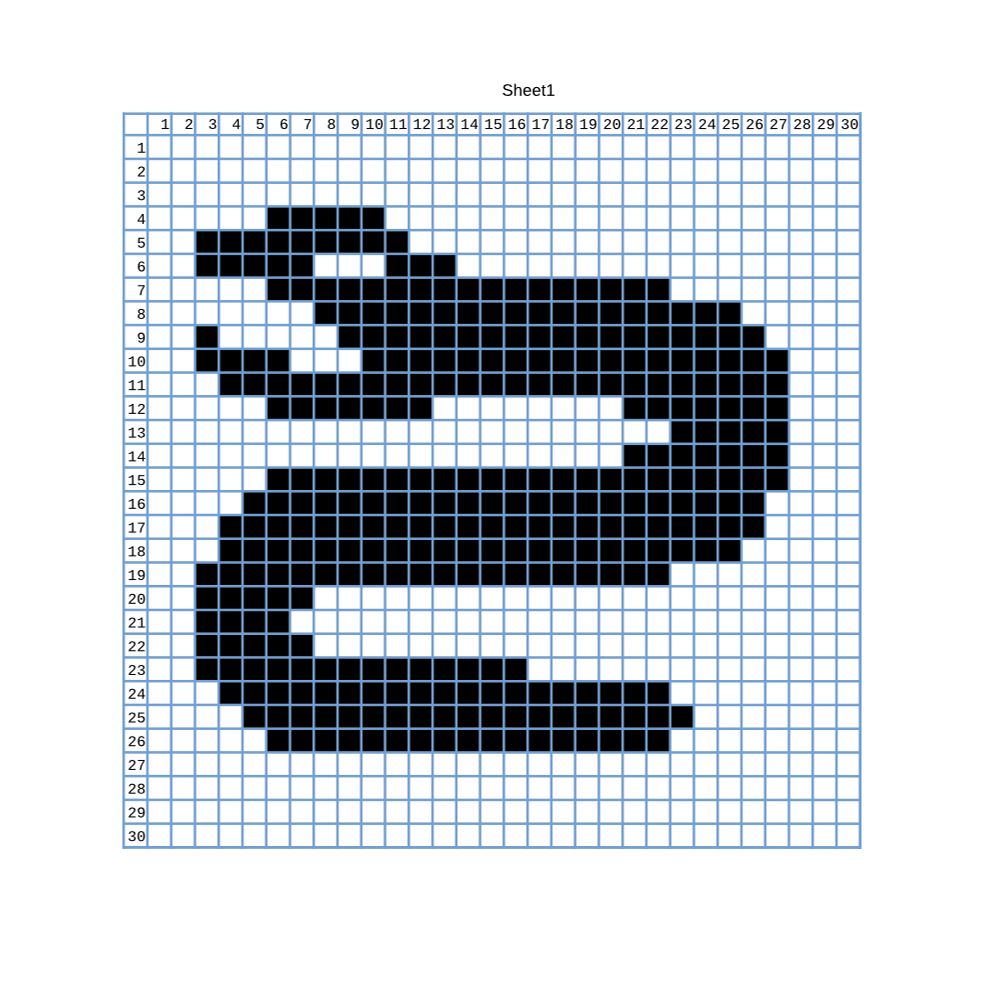
Side panels:
Make them around 30 stiches wide and 30 stitches high! They are easy to adjust if you want to make them a different size! Swatch and measure your head before starting!!!! They both should be the same size. Feel free to download the charts!
Assembly
Ribbing
Once you have every component assemble and time for the ribbing!
For the ribbing I used a needle half a size smaller and did a stitch in (around) every 3-4 stitches.
Around the face I made it 6 stitches high. Around the forehead I recommend making the ribbing longer so it covers the forehead properly. Try on to check for the size! I increased around 6.
Neck
I made it as long as the light blue part. Under the neck .increase as much so it is even on the bottom. I didn't connect it to the other side because it would have been too tight to get on. I continued the ribbing,
Buttonhole
Just skip for example 3 stitches by chaing 3 in one row then continue as usual. The size of the hole depends on your button. Later strengthen the hole by sewing around the edges! Sew on the button and you are finished!
I made the button from this shrinky dinks.
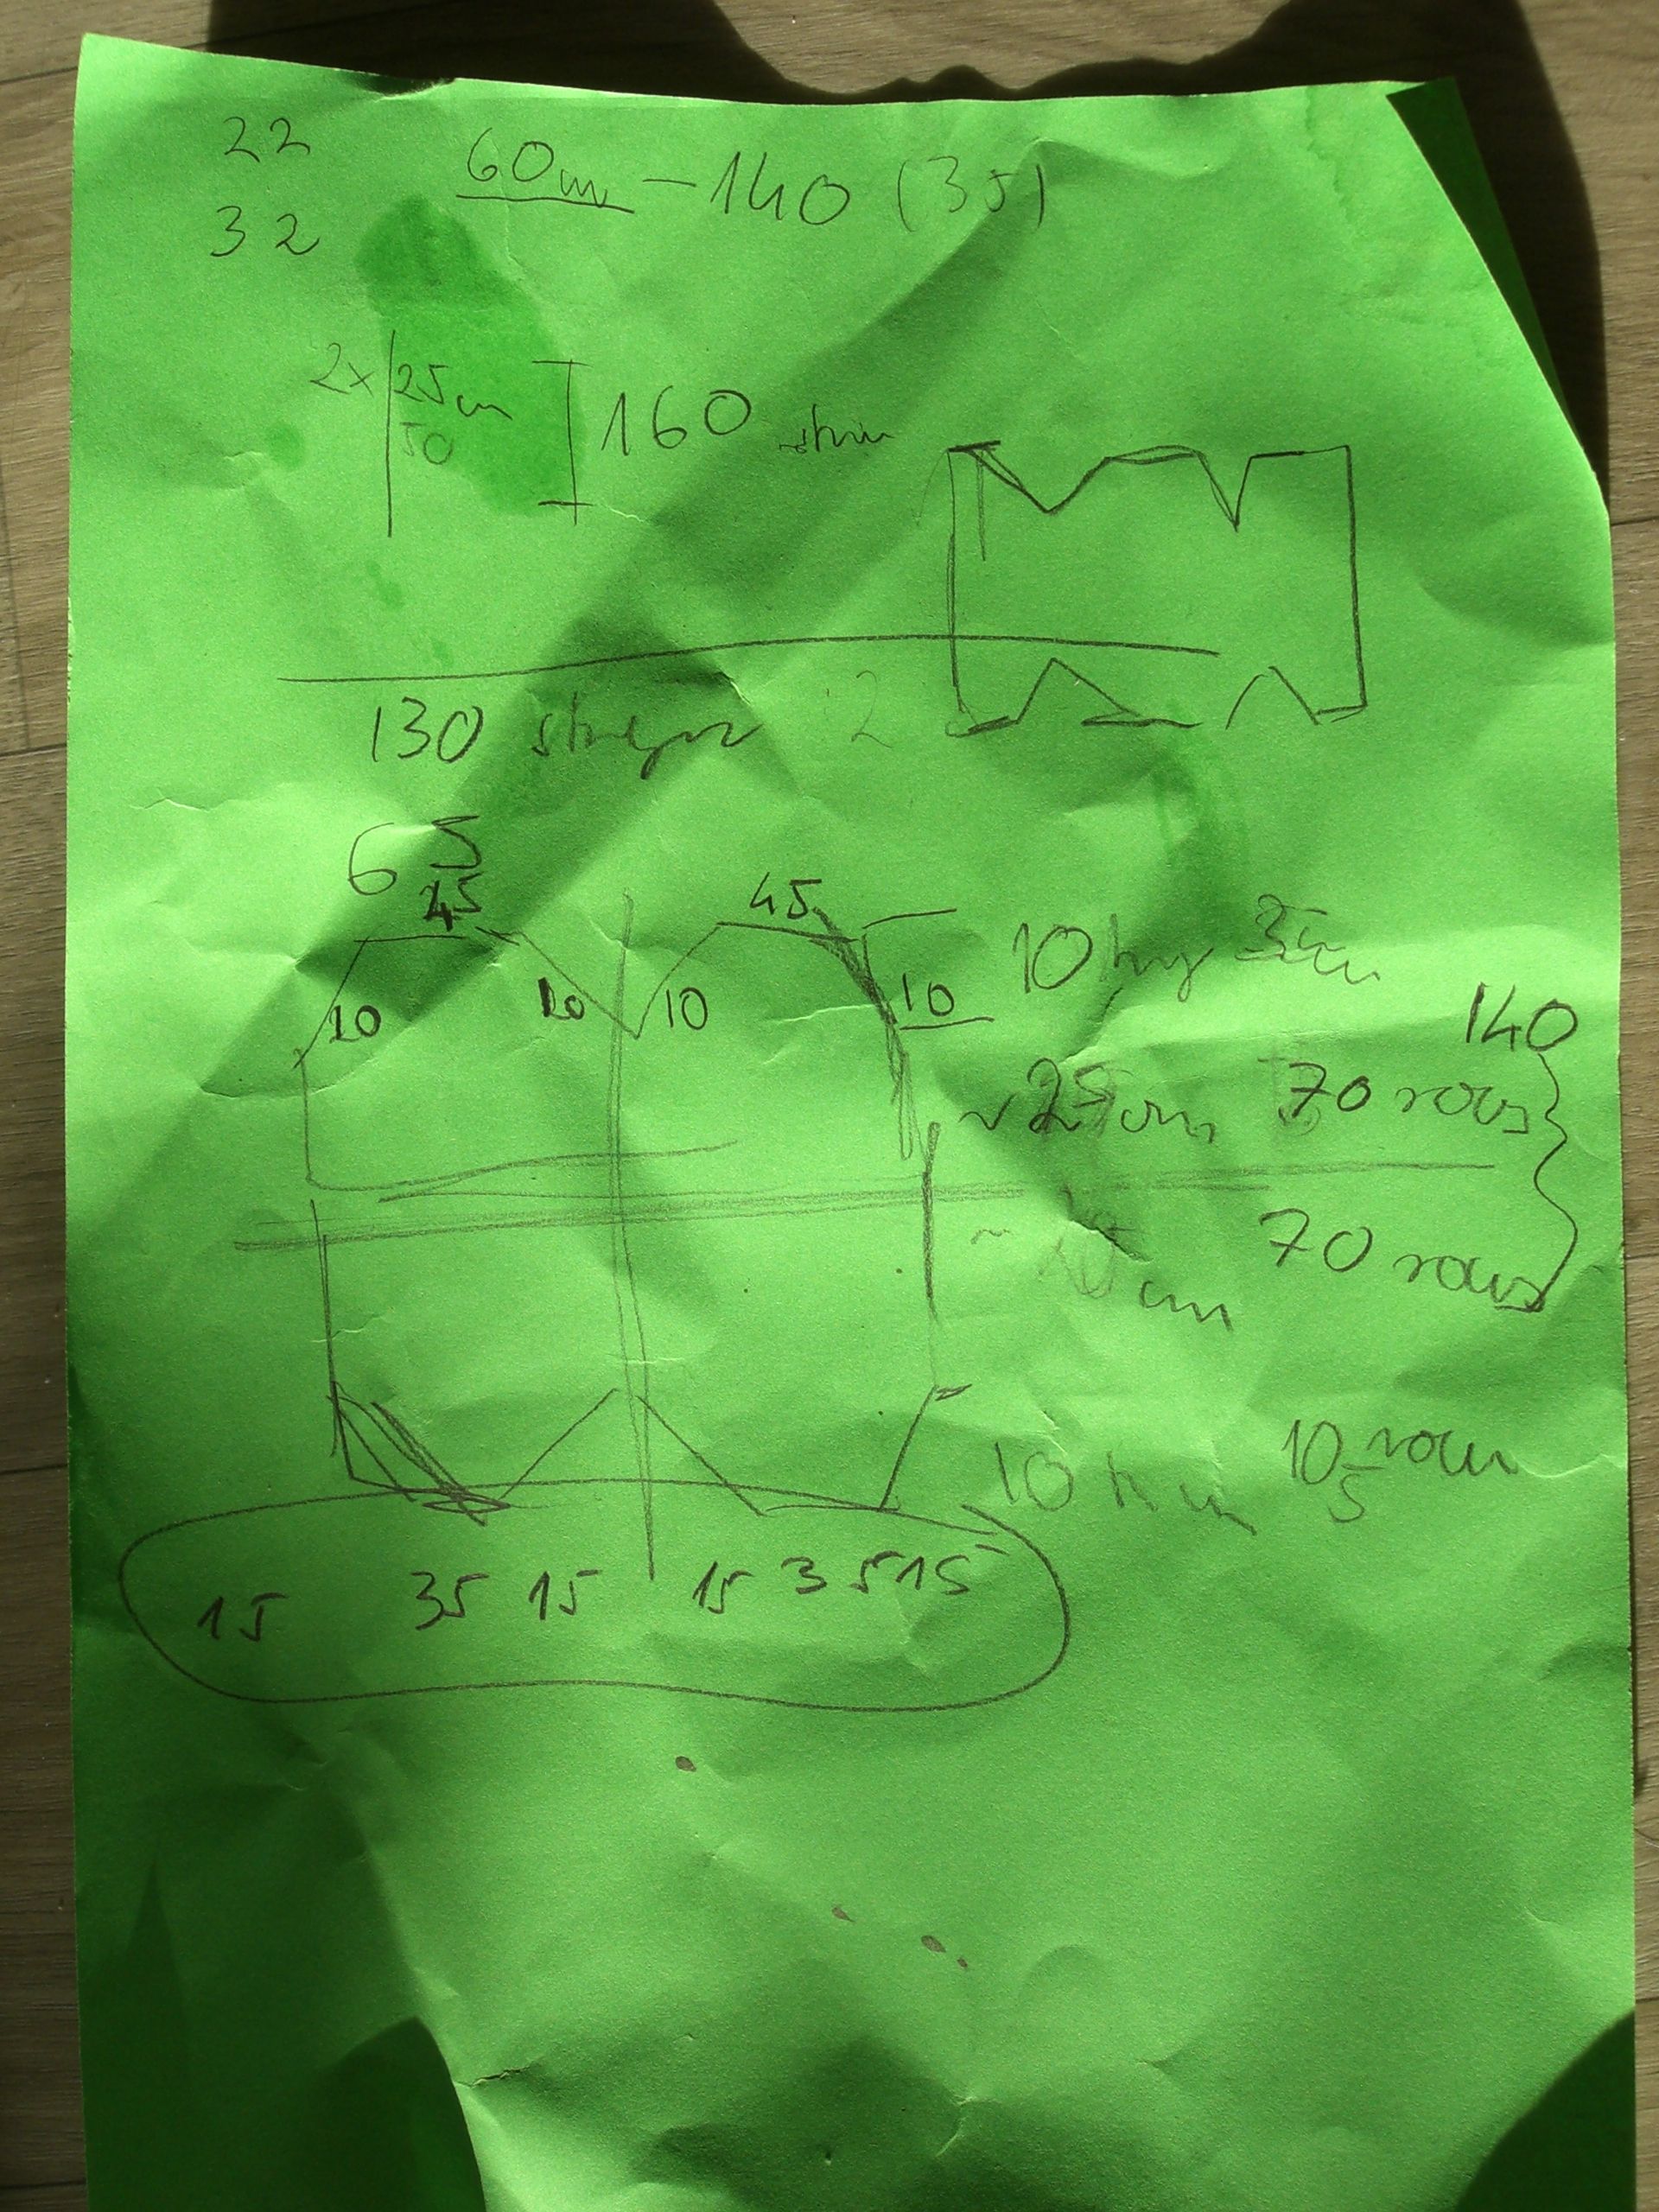
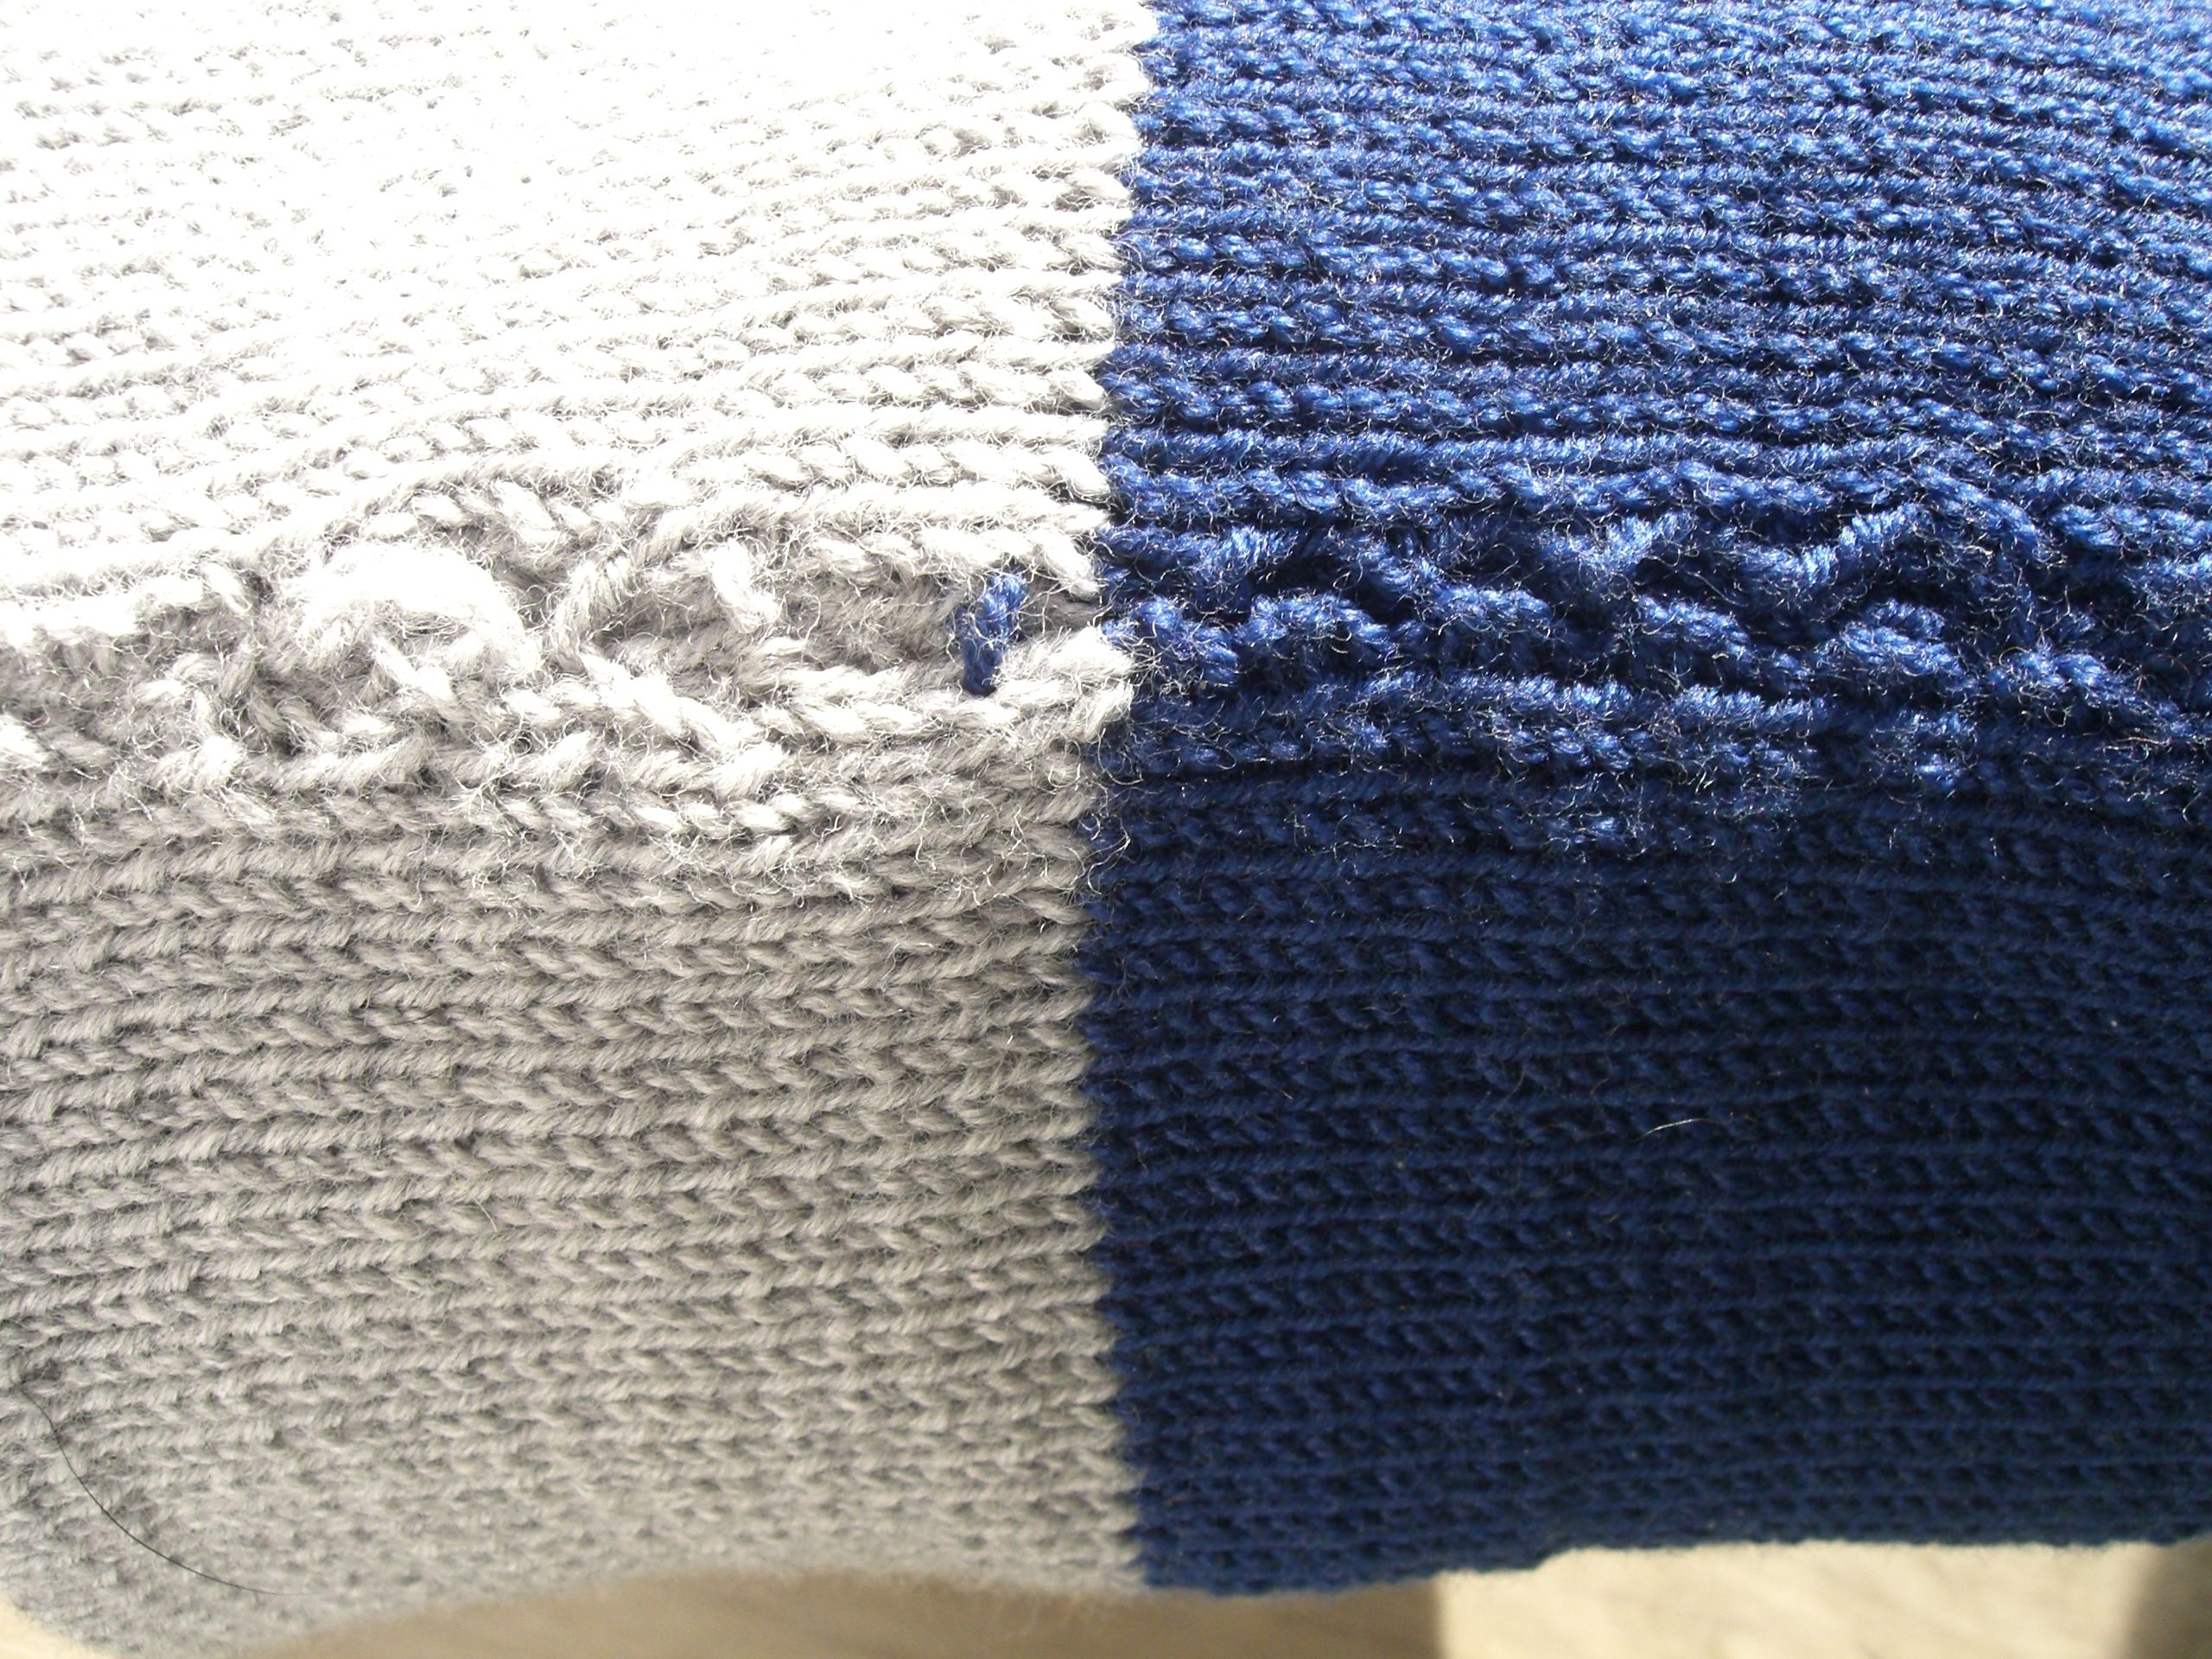
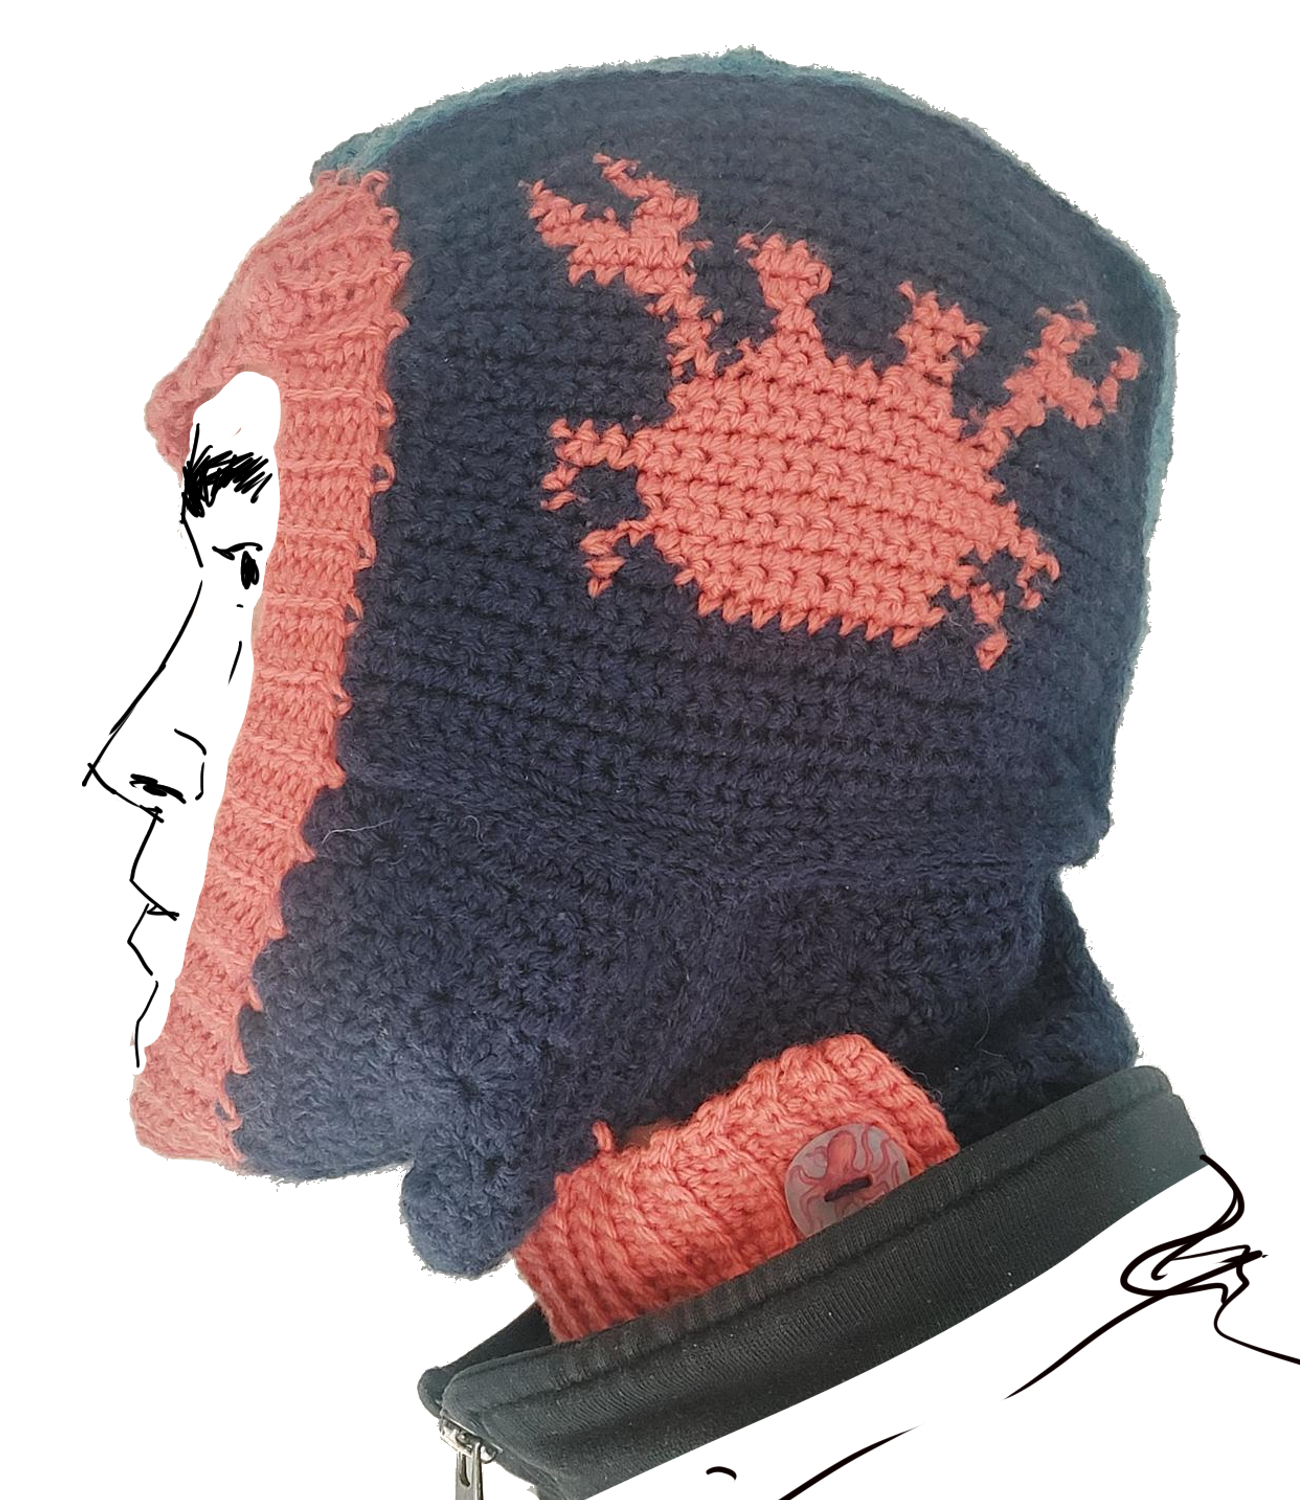
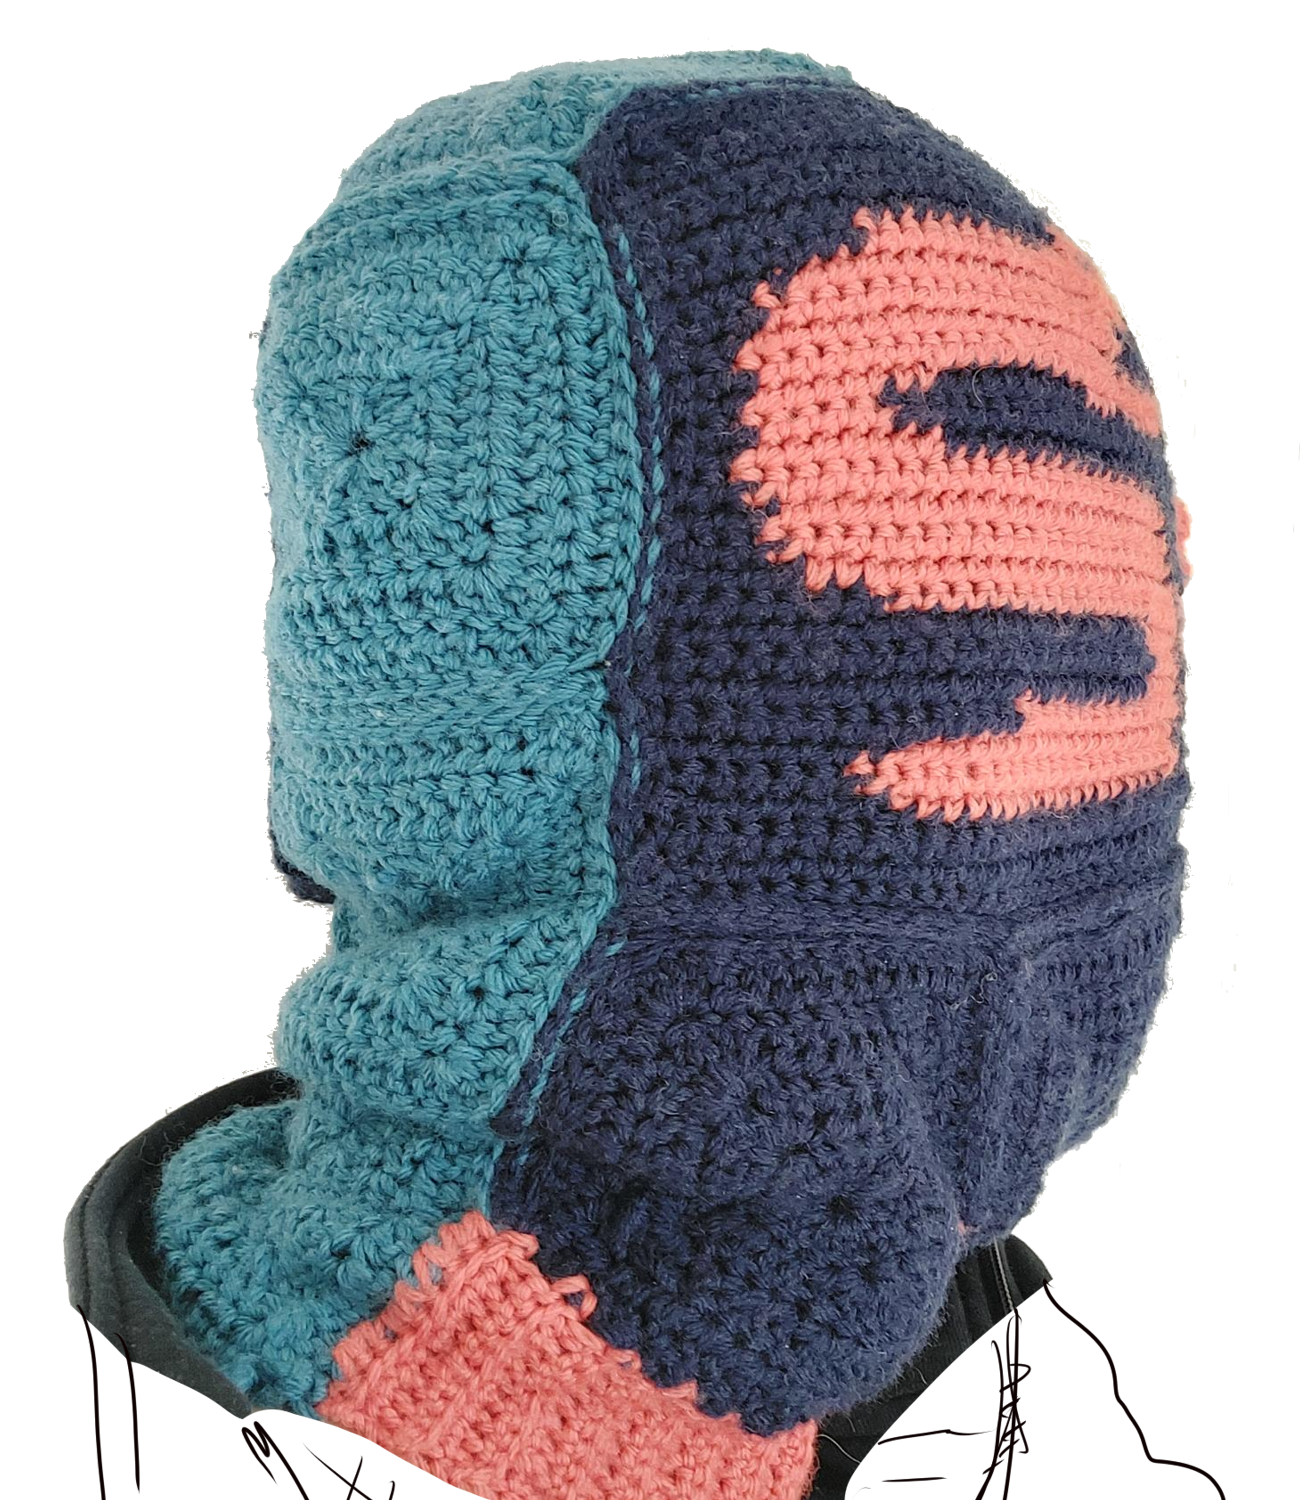
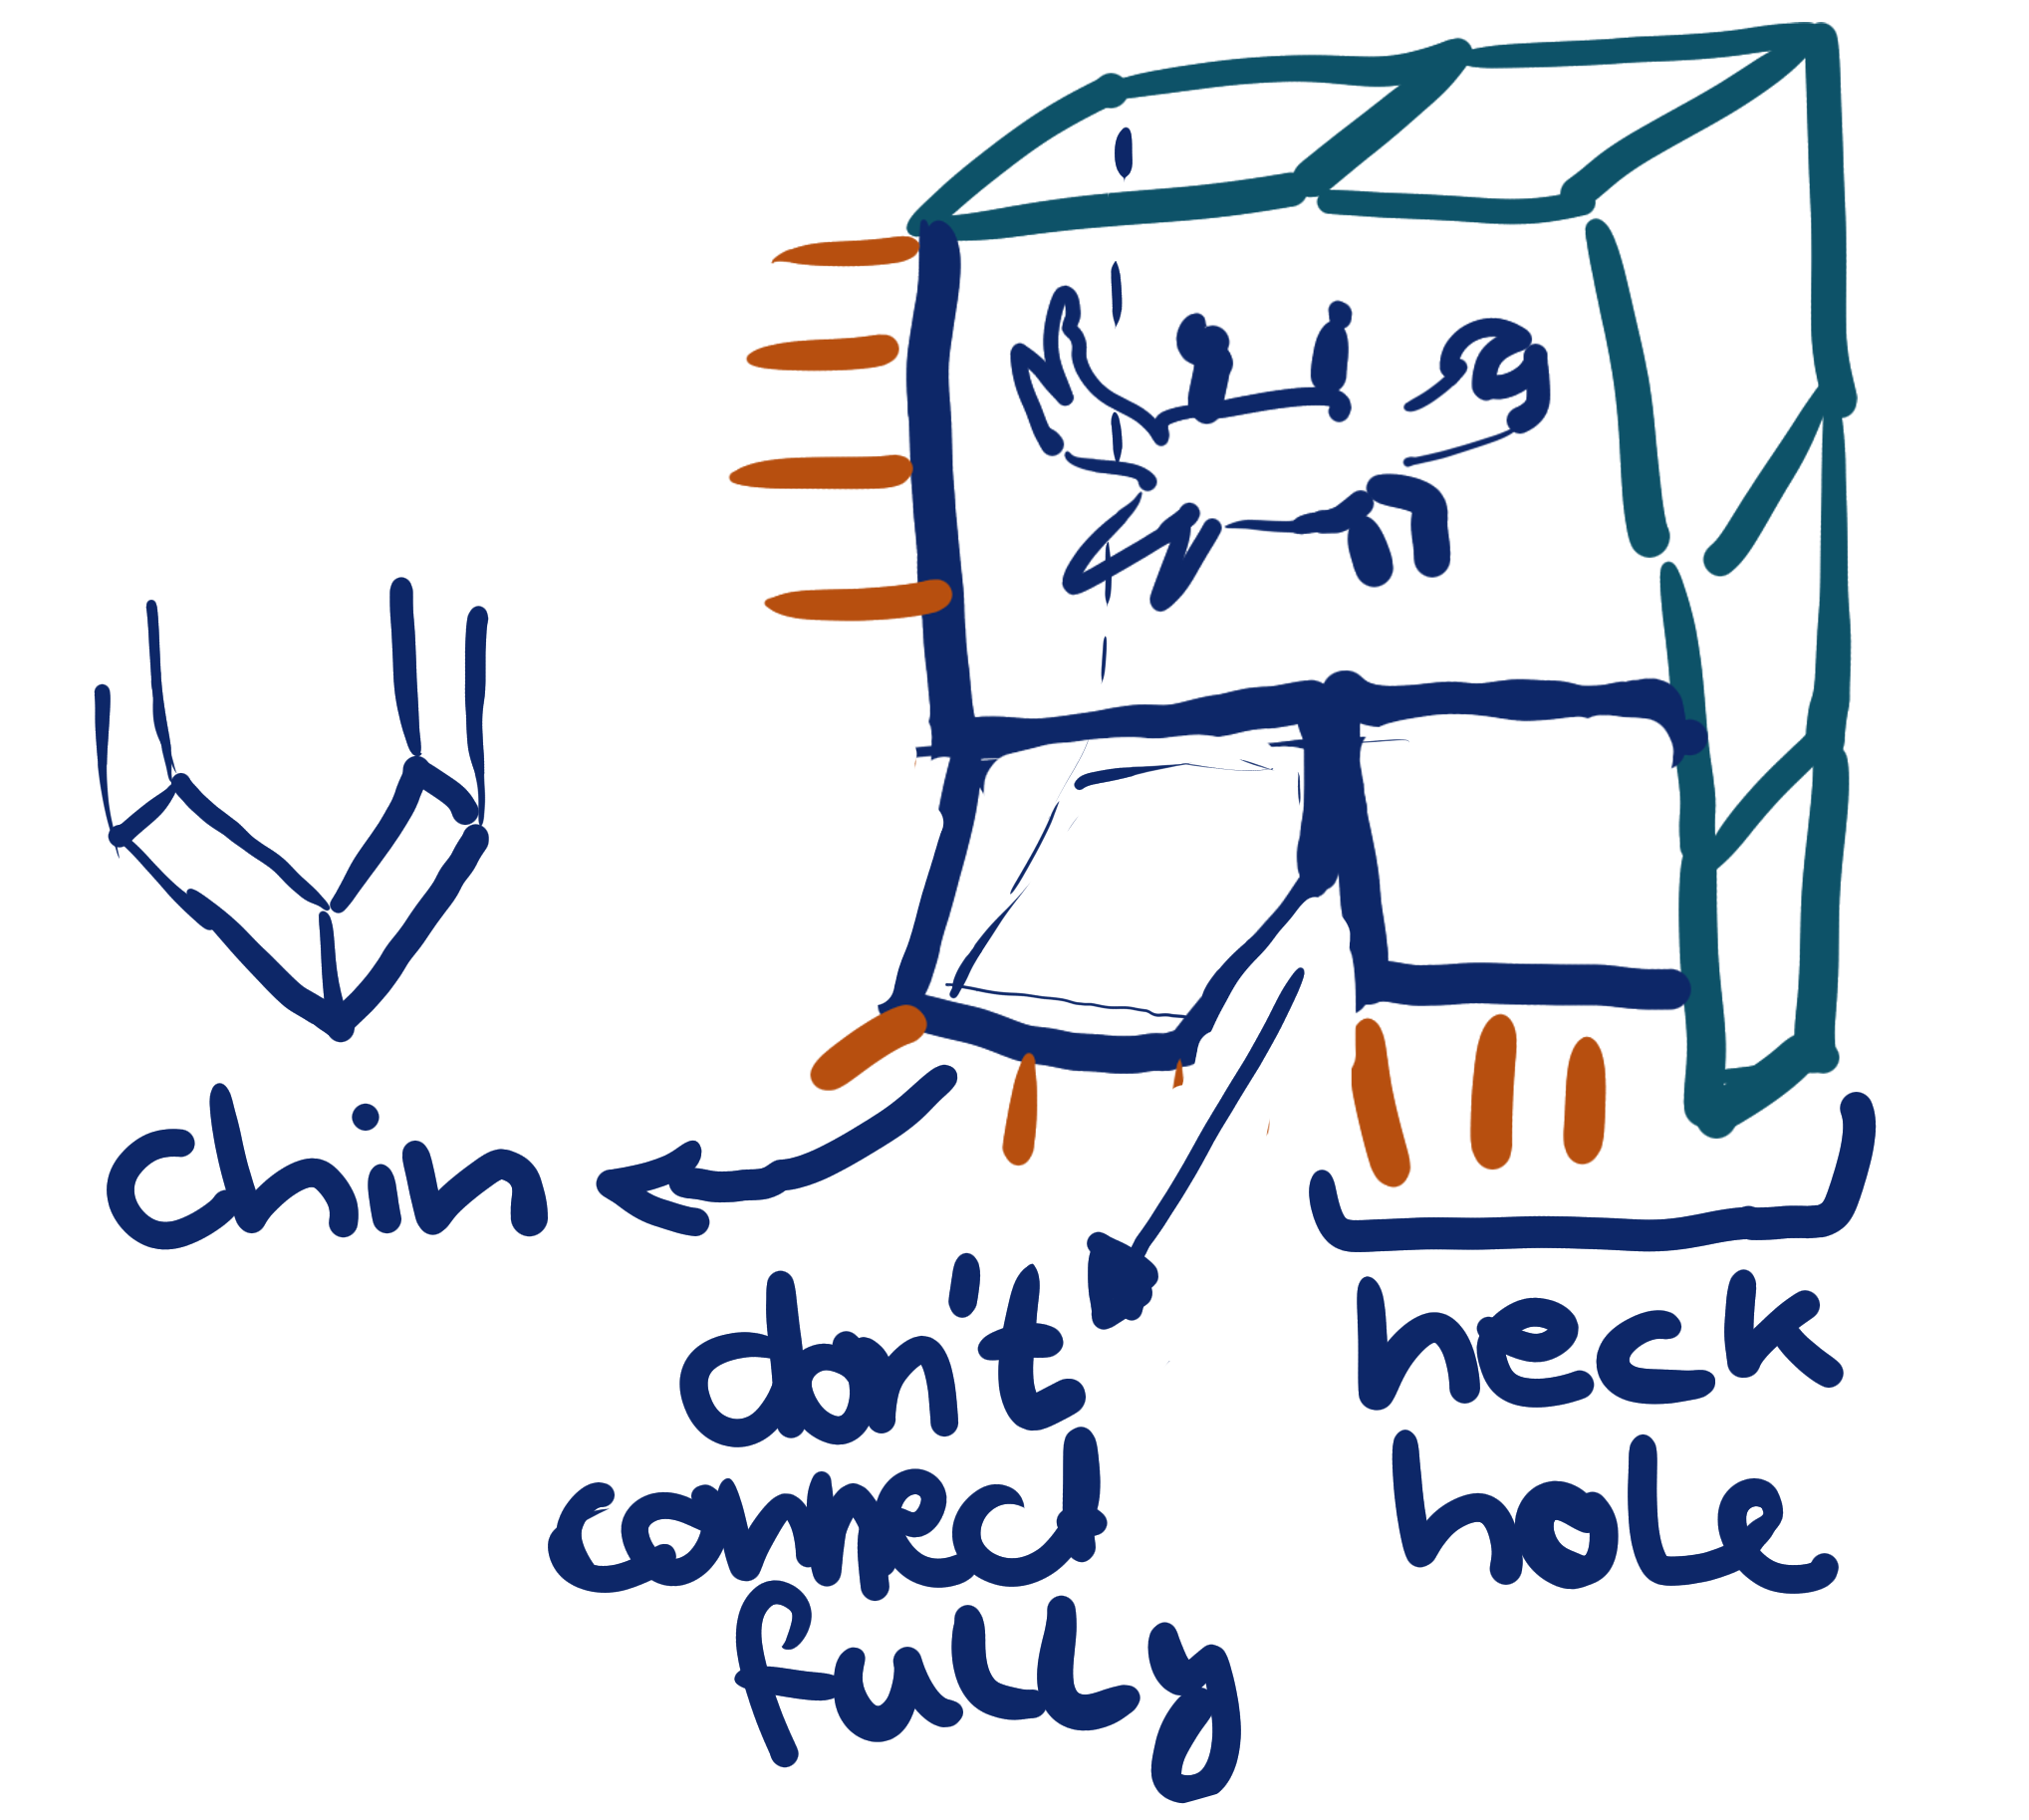
Two more pictures to help with the assembly